Portfolio
Credits
Aztec Trial
Player
Enemy
Enviroment
Dragon Take Off
Bamboo Epedemic
Character
Enviroment
Namecard graphics design
Games
Made at The Game Assembly
Animations
Made at The Game Assembly
(2023 - 2024)
Acting
Sound on!
Parkour
Cheetah
(There's supposed to be a bird on the branch)
((but i forgot to add it))
Fanart i made during my freetime
(2020-2022)
Metroid
Signalis
Light NSFW warning - violence/blood
& Spoilers!
Ultrakill
(2018-2020)
I made this to troll my friend
Light NSFW warning - violence/blood
Tom & Jerry but without Jerry
My first animation ever!
Portfolio
HELLO!
The name is Yones! I’m a social, go lucky type of guy who loves to passionately discuss the mundane things in life.
I'm a game animator who lives in Malmö, Sweden and I'm currently looking for an internship starting this september!
I like exploring different ideas and weird approaches to established concepts in our everyday life. It's exciting to imagine how different the world, our culture or anatomy would've turned out if things played out just a little bit different in the years past.That's what makes both games and animation incredbily compelling to work with. It's a fantastic outlet where we explore all these bizarre ideas in a fun and digestable manner. A stage where we can convey our personal experiences, create immersive storytelling or just some simple dumb fun. It's a really nuanced platform!As such i hardly believe i'll ever tire of game animation. I'm always excited to contribute, pass on ideas and emotions through the motions on a screen. It's a satisfying and greatly rewarding process.I'm passionate and excited to further develop my skills within the industry.
A mobile GOTY finalist!
The Rookies: Highly Recommended

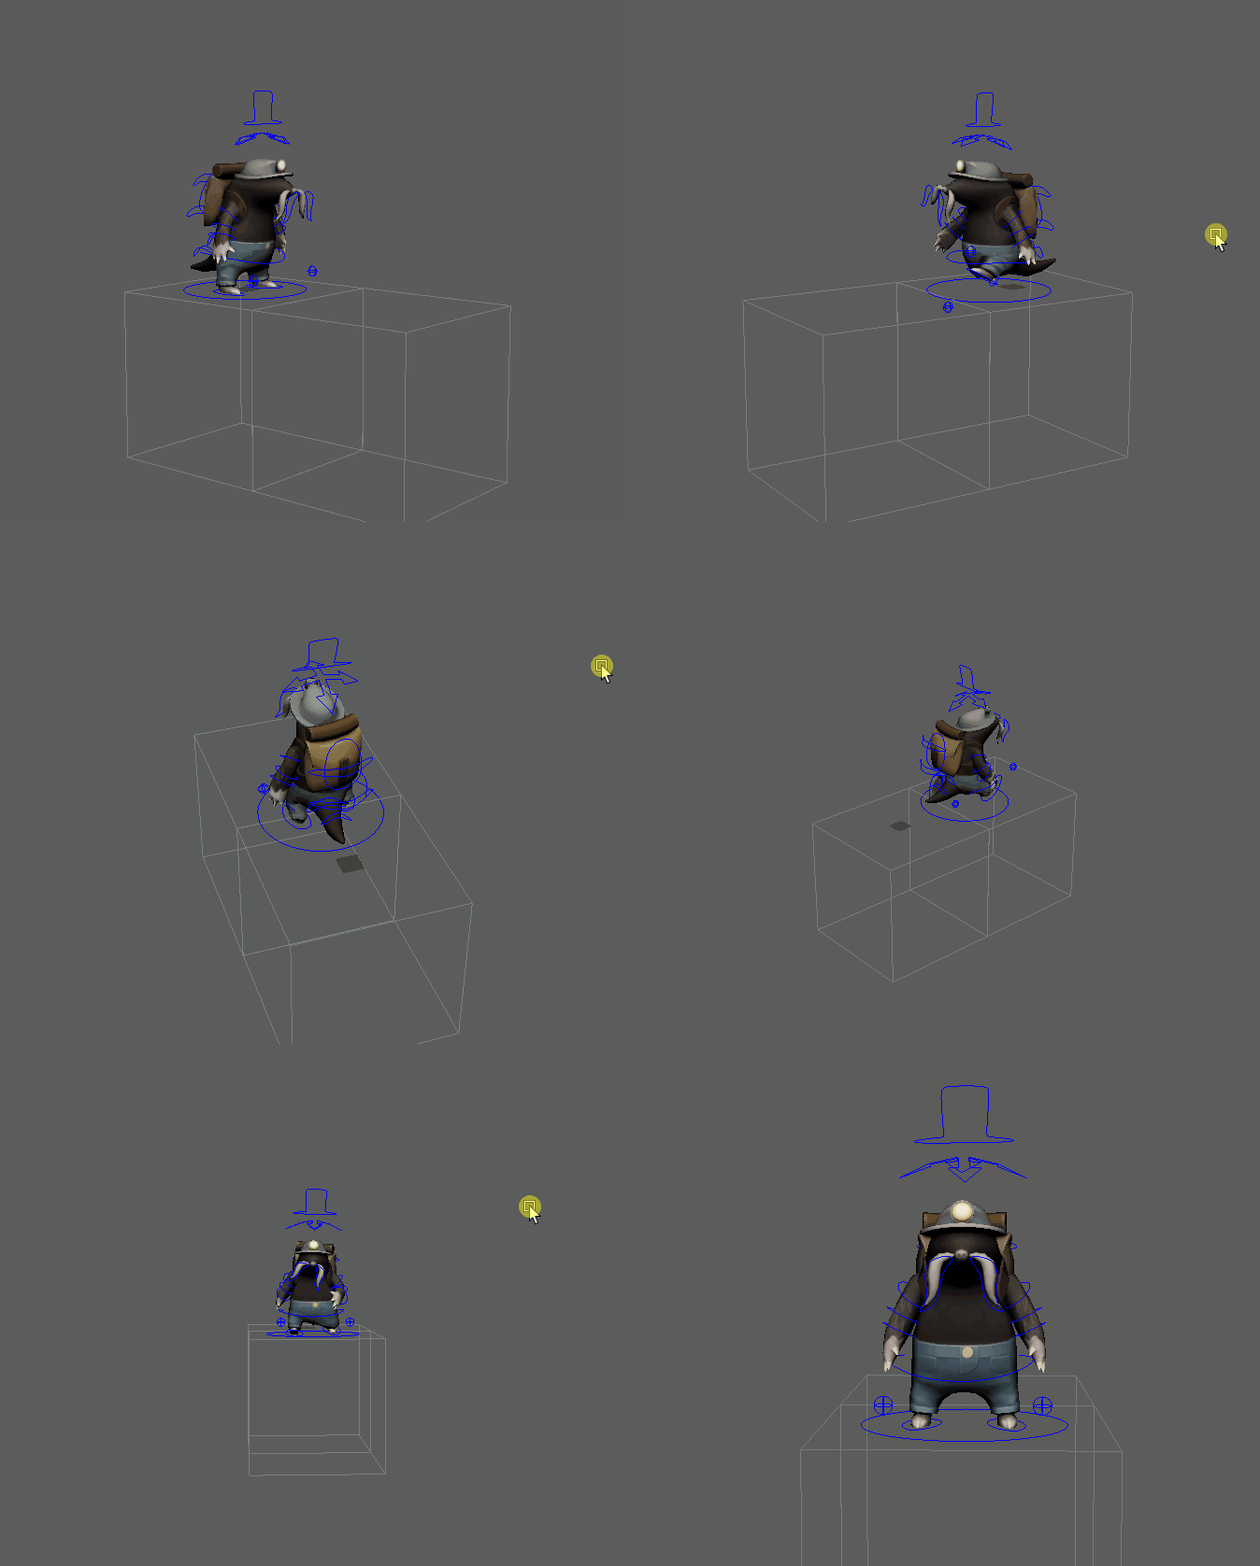
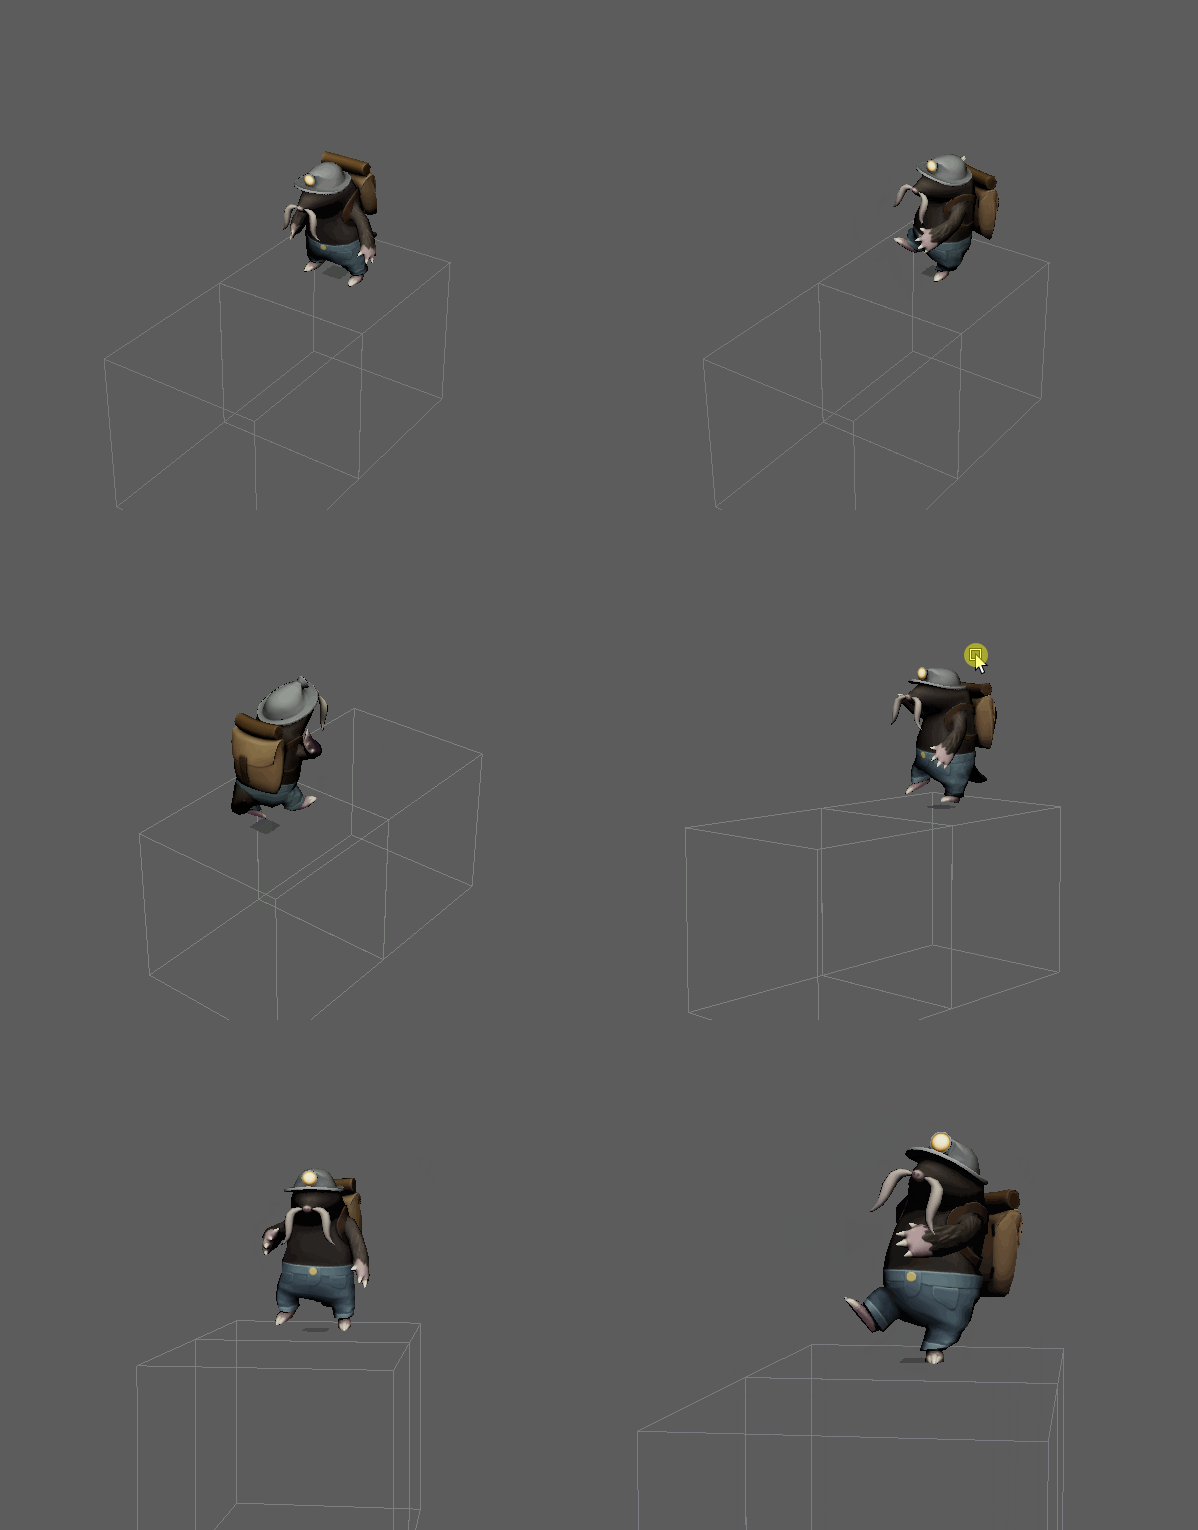
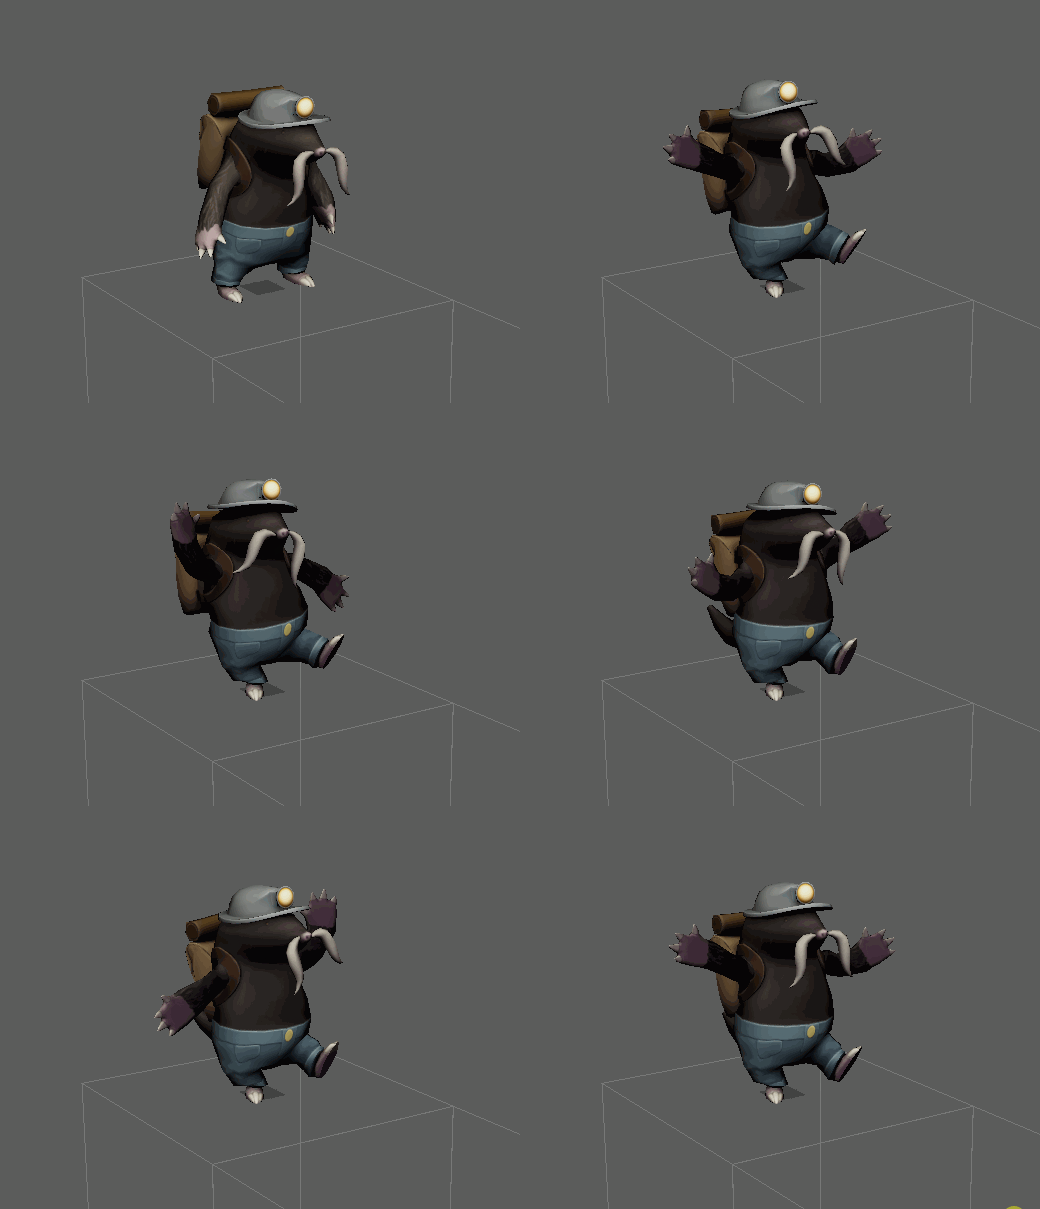
Hole-E-Mole is a turn-based puzzle adventure set deep in the long abandoned Roly cave system. Explore the caves and outsmart enemies as you venture deeper into the mines, looking for the long lost treasure.● Experience a living world with captivating visuals and a breathtaking soundtrack.
● Navigate using simple swipe-to-move controls.
● Guide the mole through tunnels, outsmart creatures and solve brain-teasing puzzles.
Behind the scenes
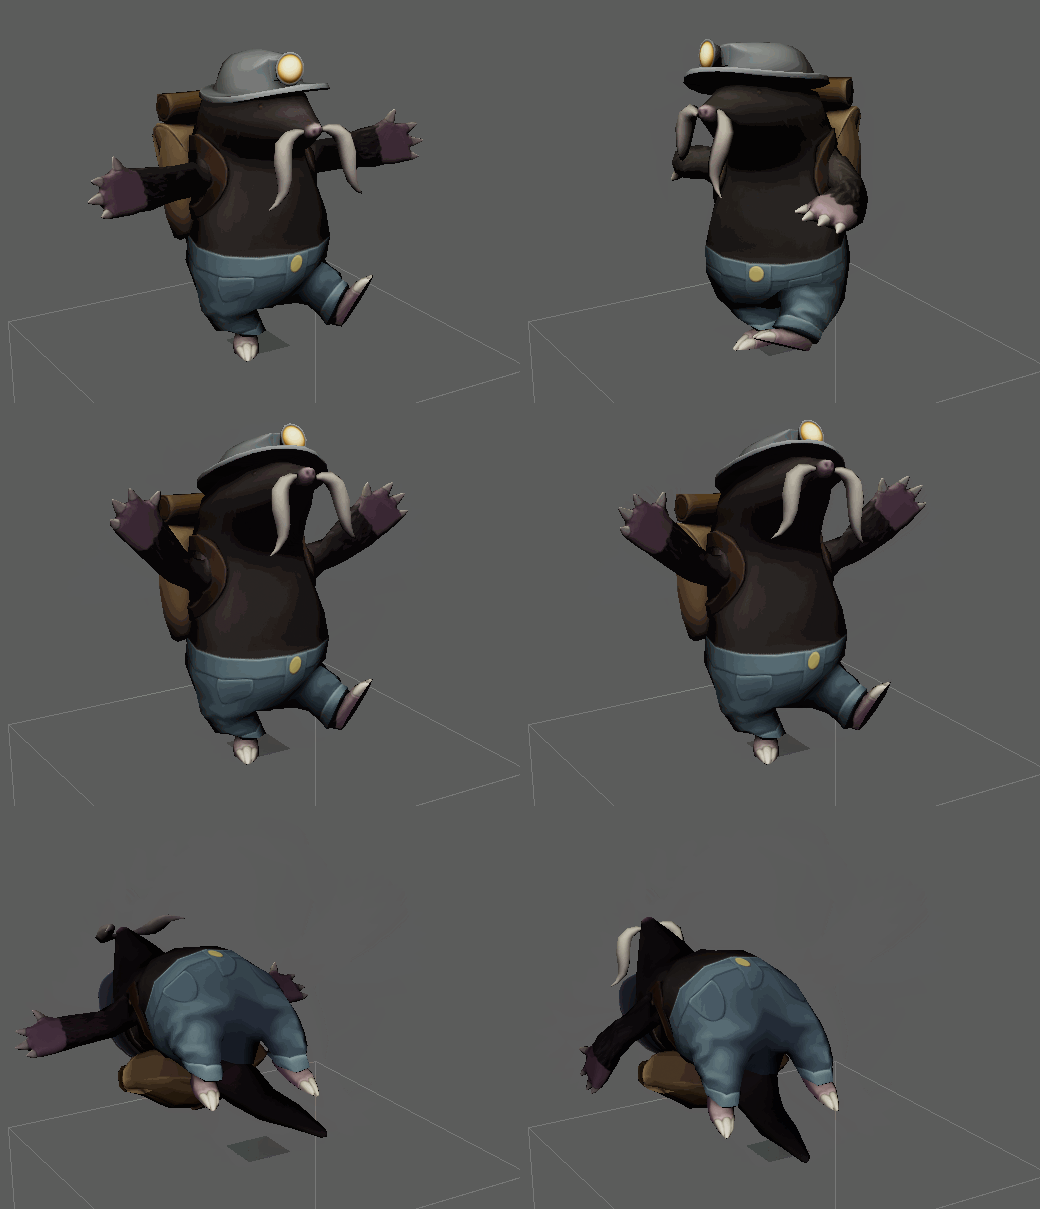
I rigged and animated the player character on this game. Heres some snippets!

Rig

Silly little attack

death anticipation

death blow
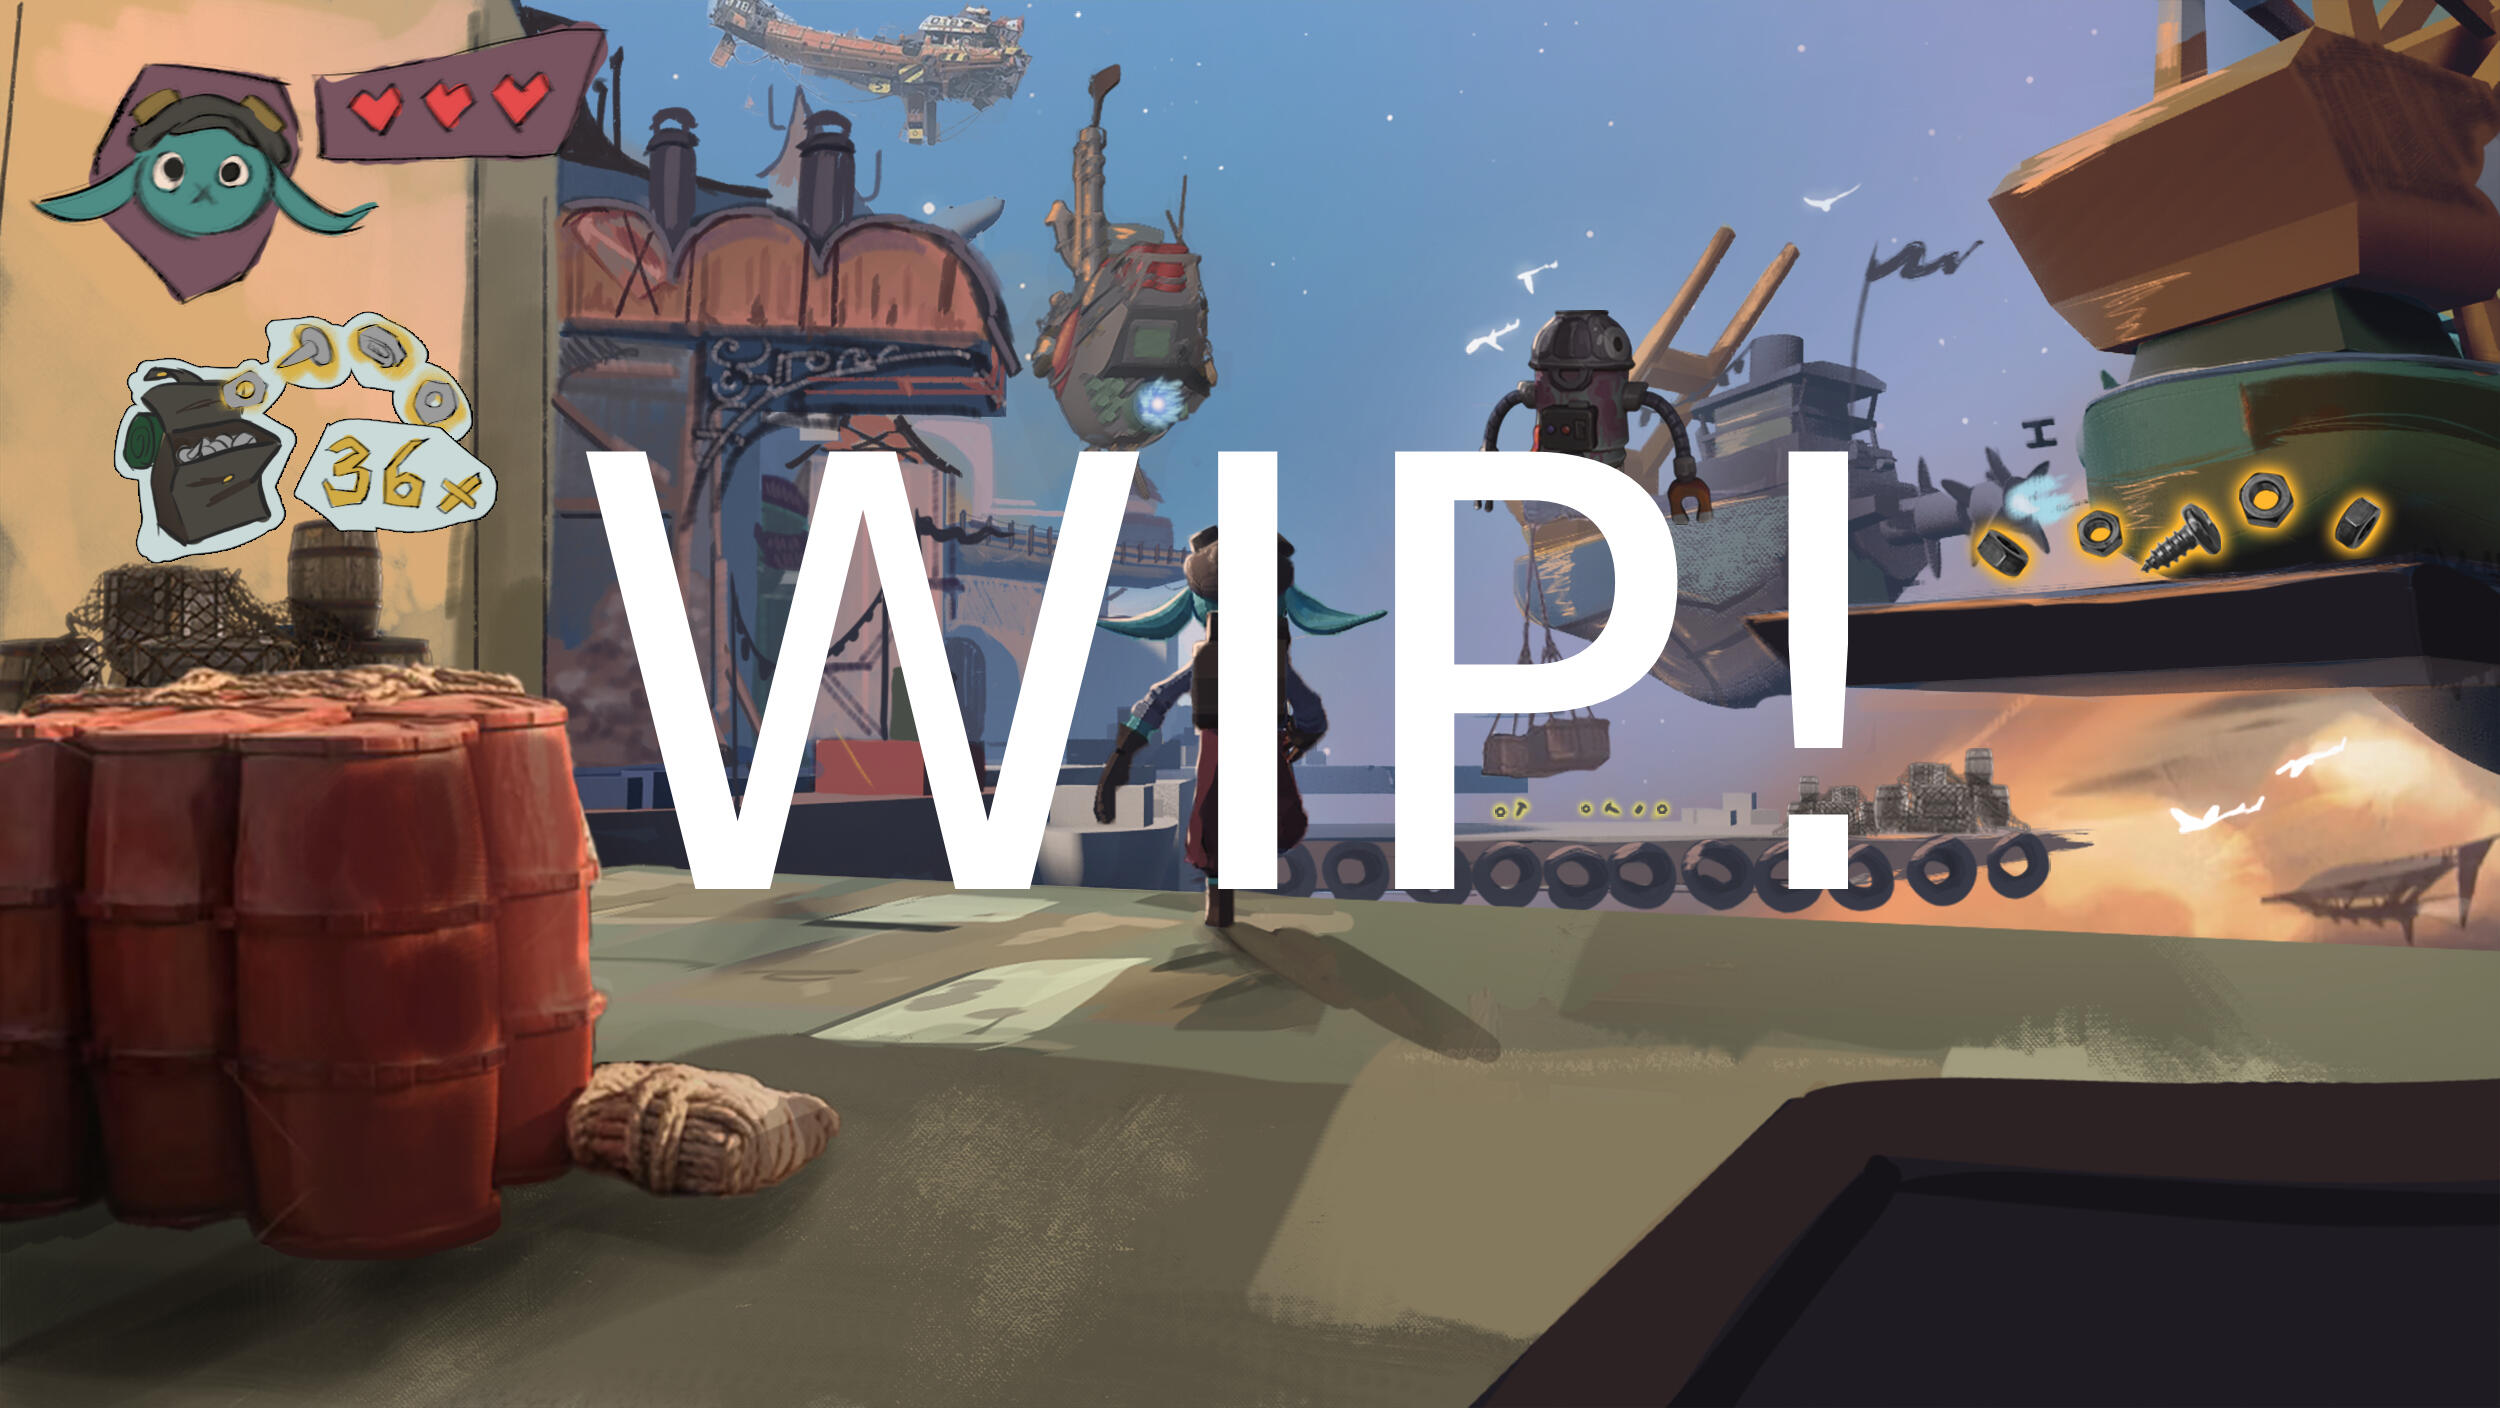
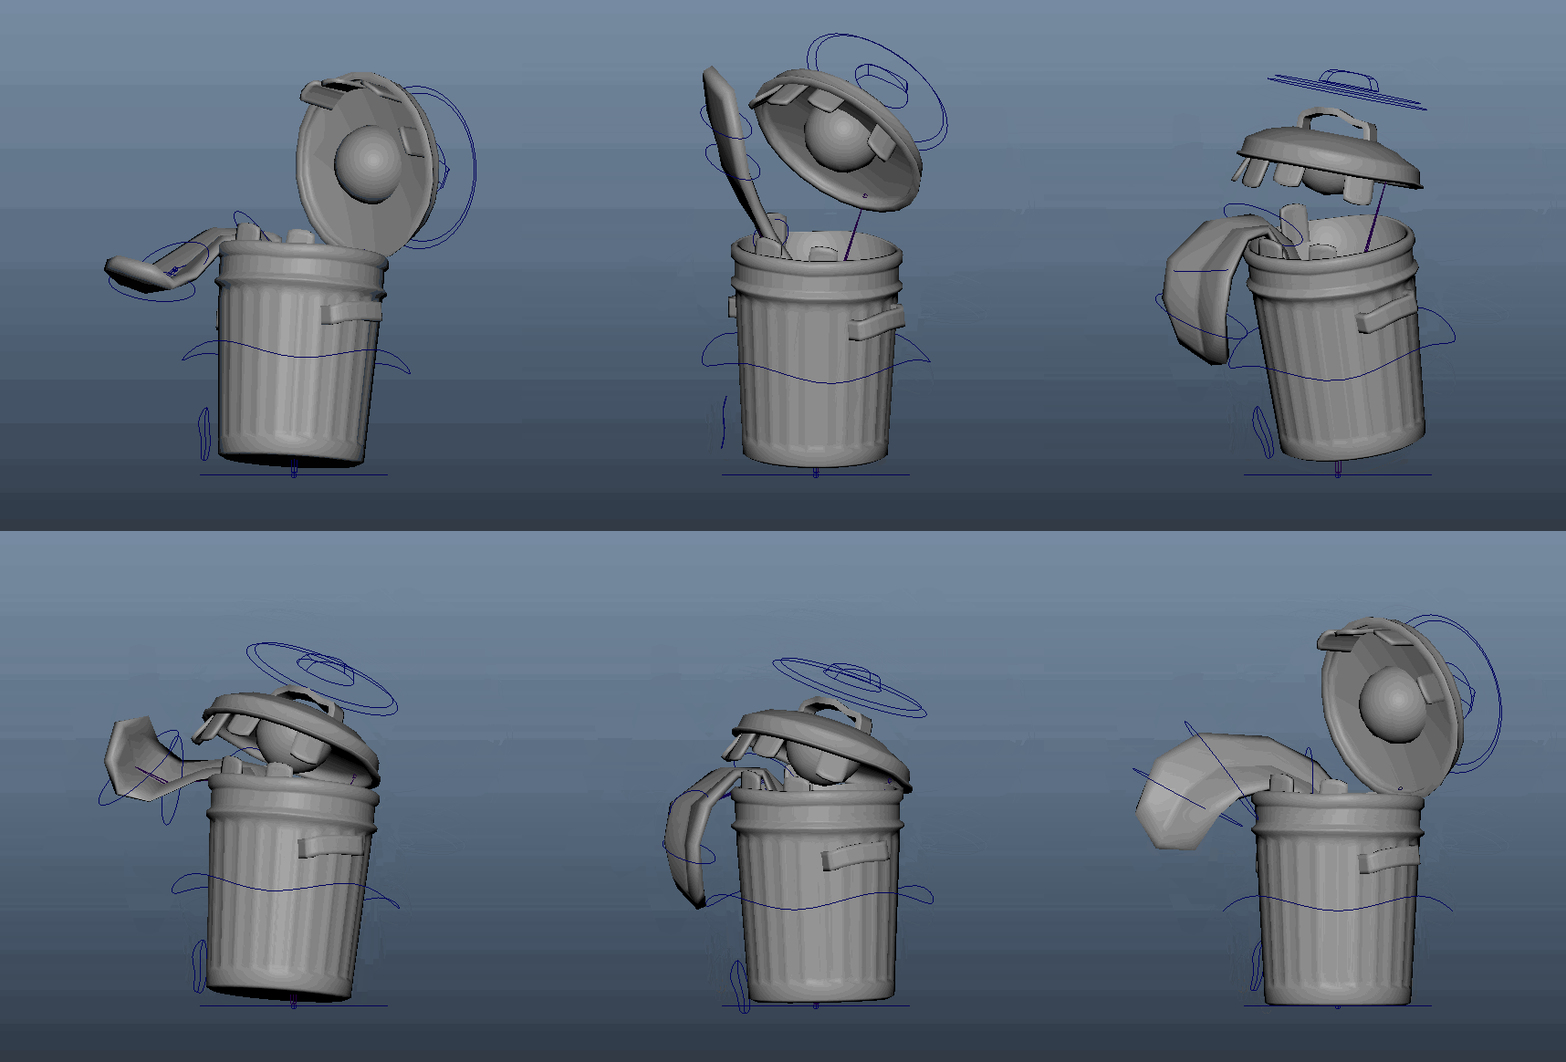
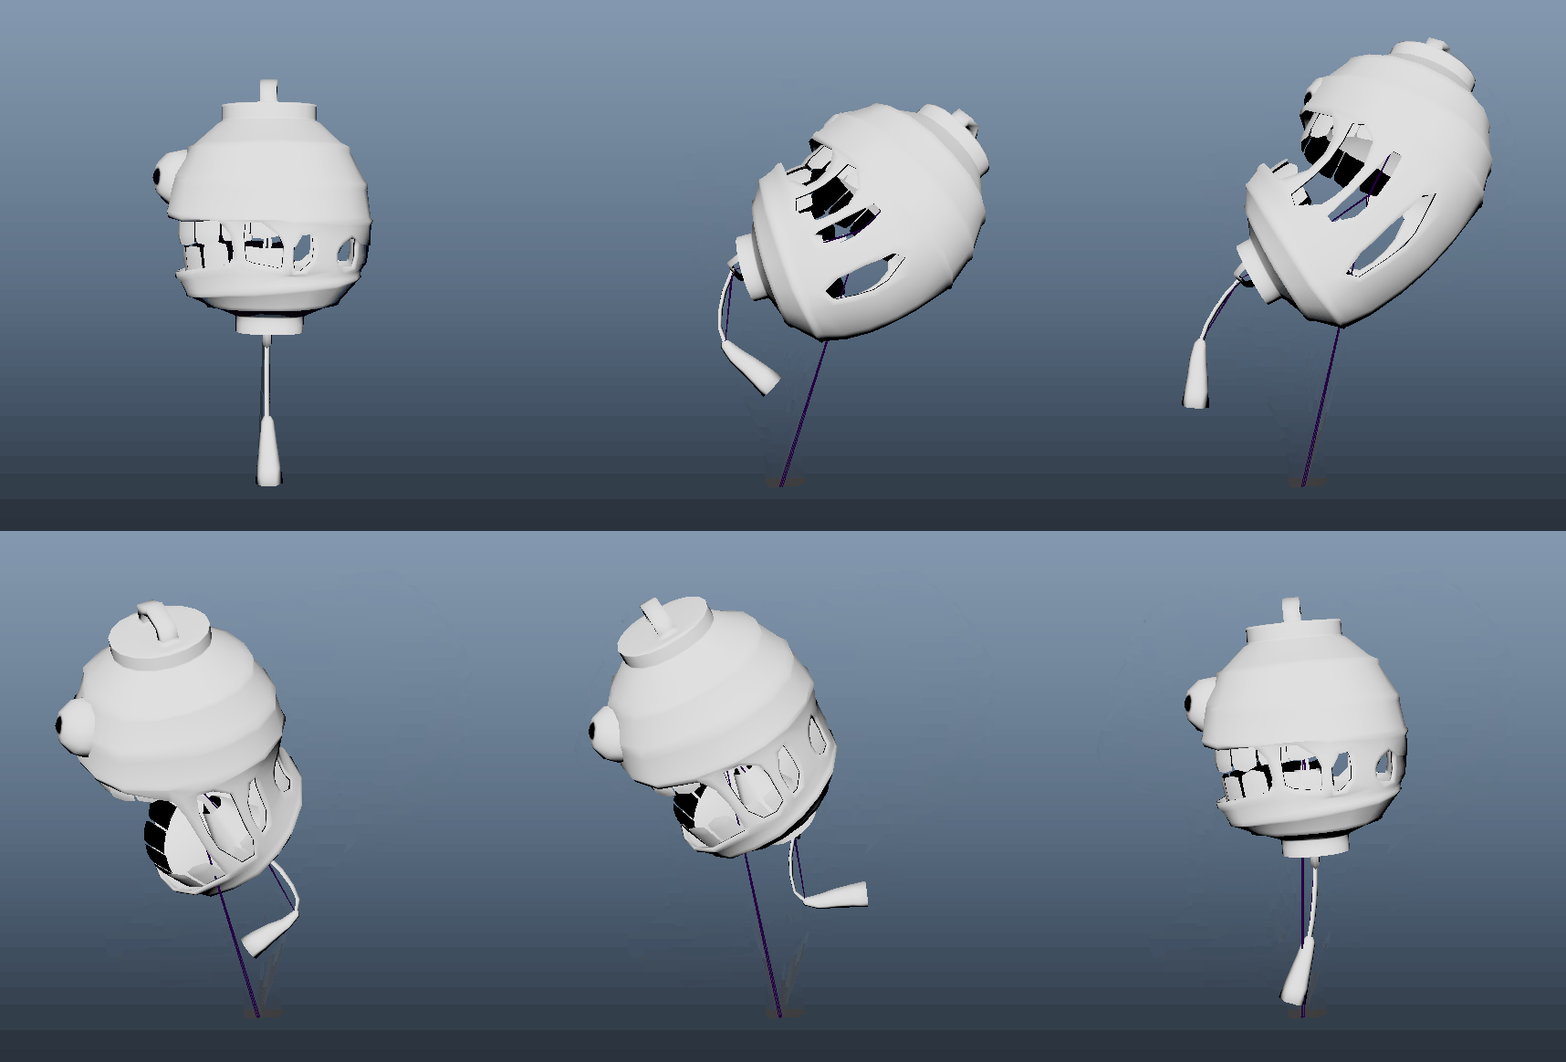
Stella and Orbit: Take Flight is a 3D platformer set in a industrial space harbor within the skies. As an alien with a knack for technology, escape the abusive orphanage with your self-built companion Orbit and realize your dream of becoming a pirate.● Traverse through the city with the help of your companion
● Bounce on jumppads to reach greater heights
● Experience a lively world filled with inhabitants and a animated clustered enviroment
behind the scenes
I worked on the enviroment and NPC's in this game! These are my personal favorites

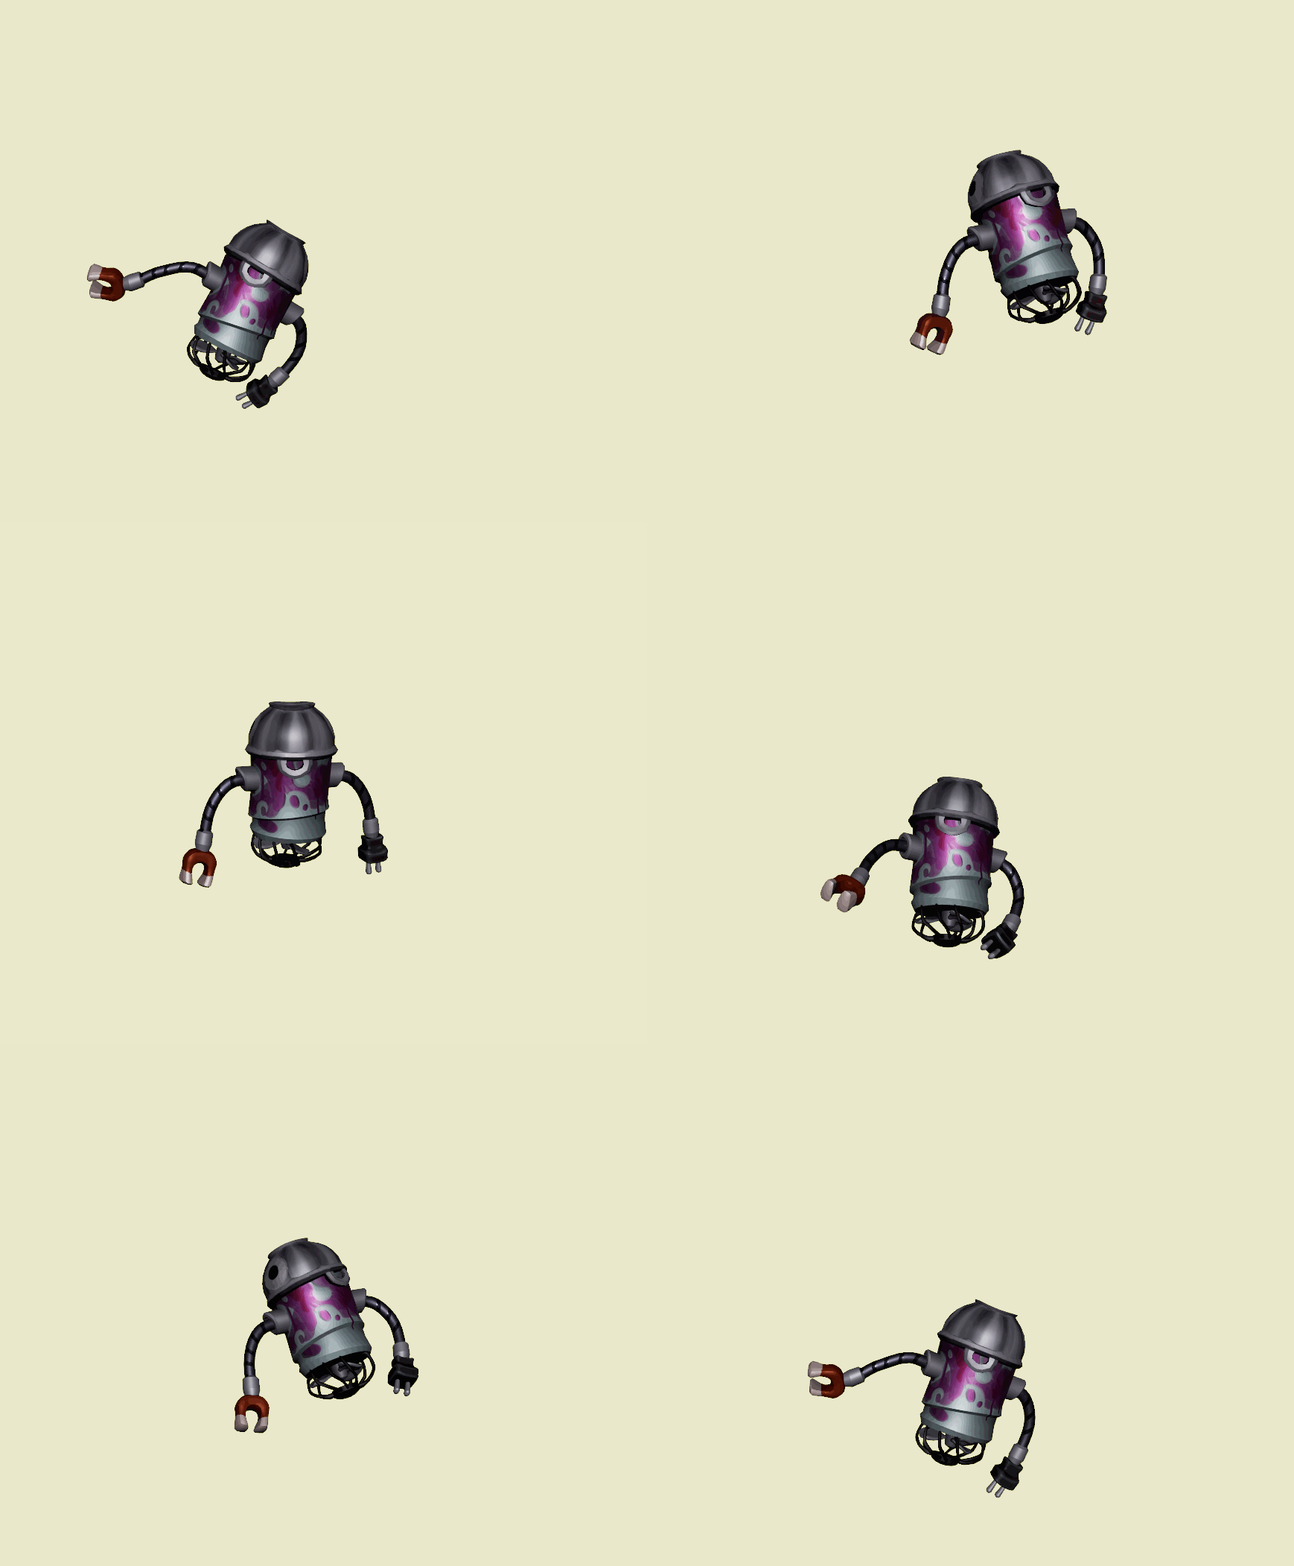
Companion Idle

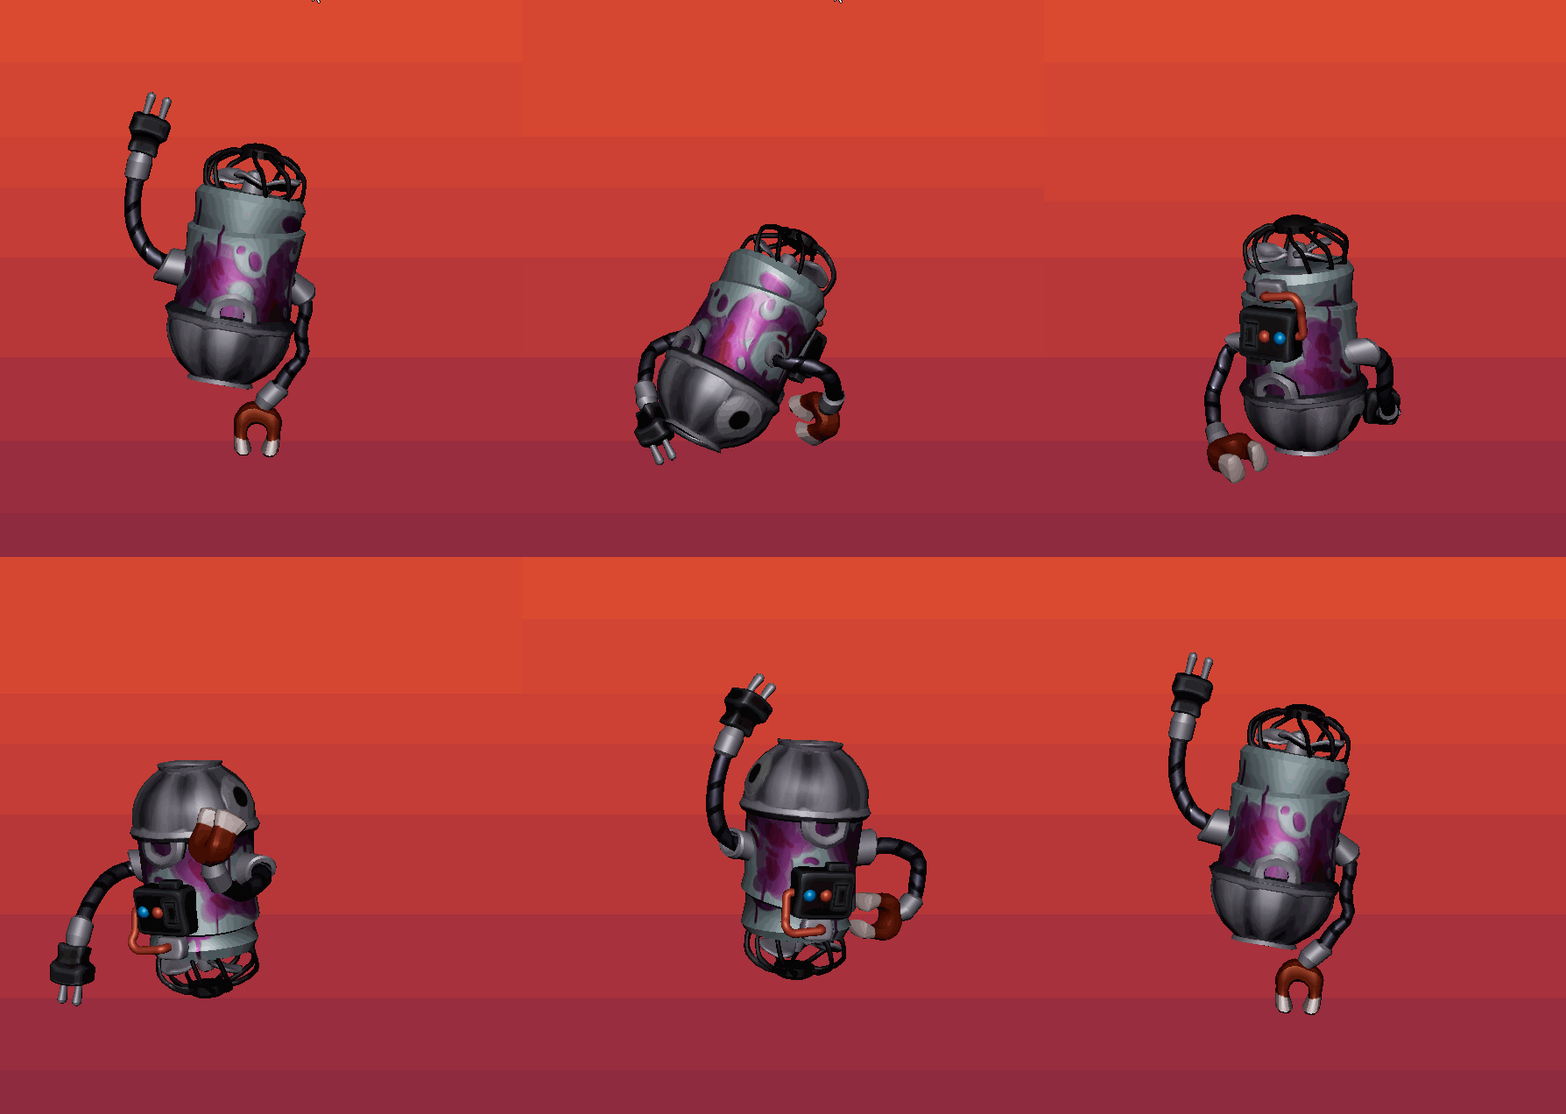
Companion Dance

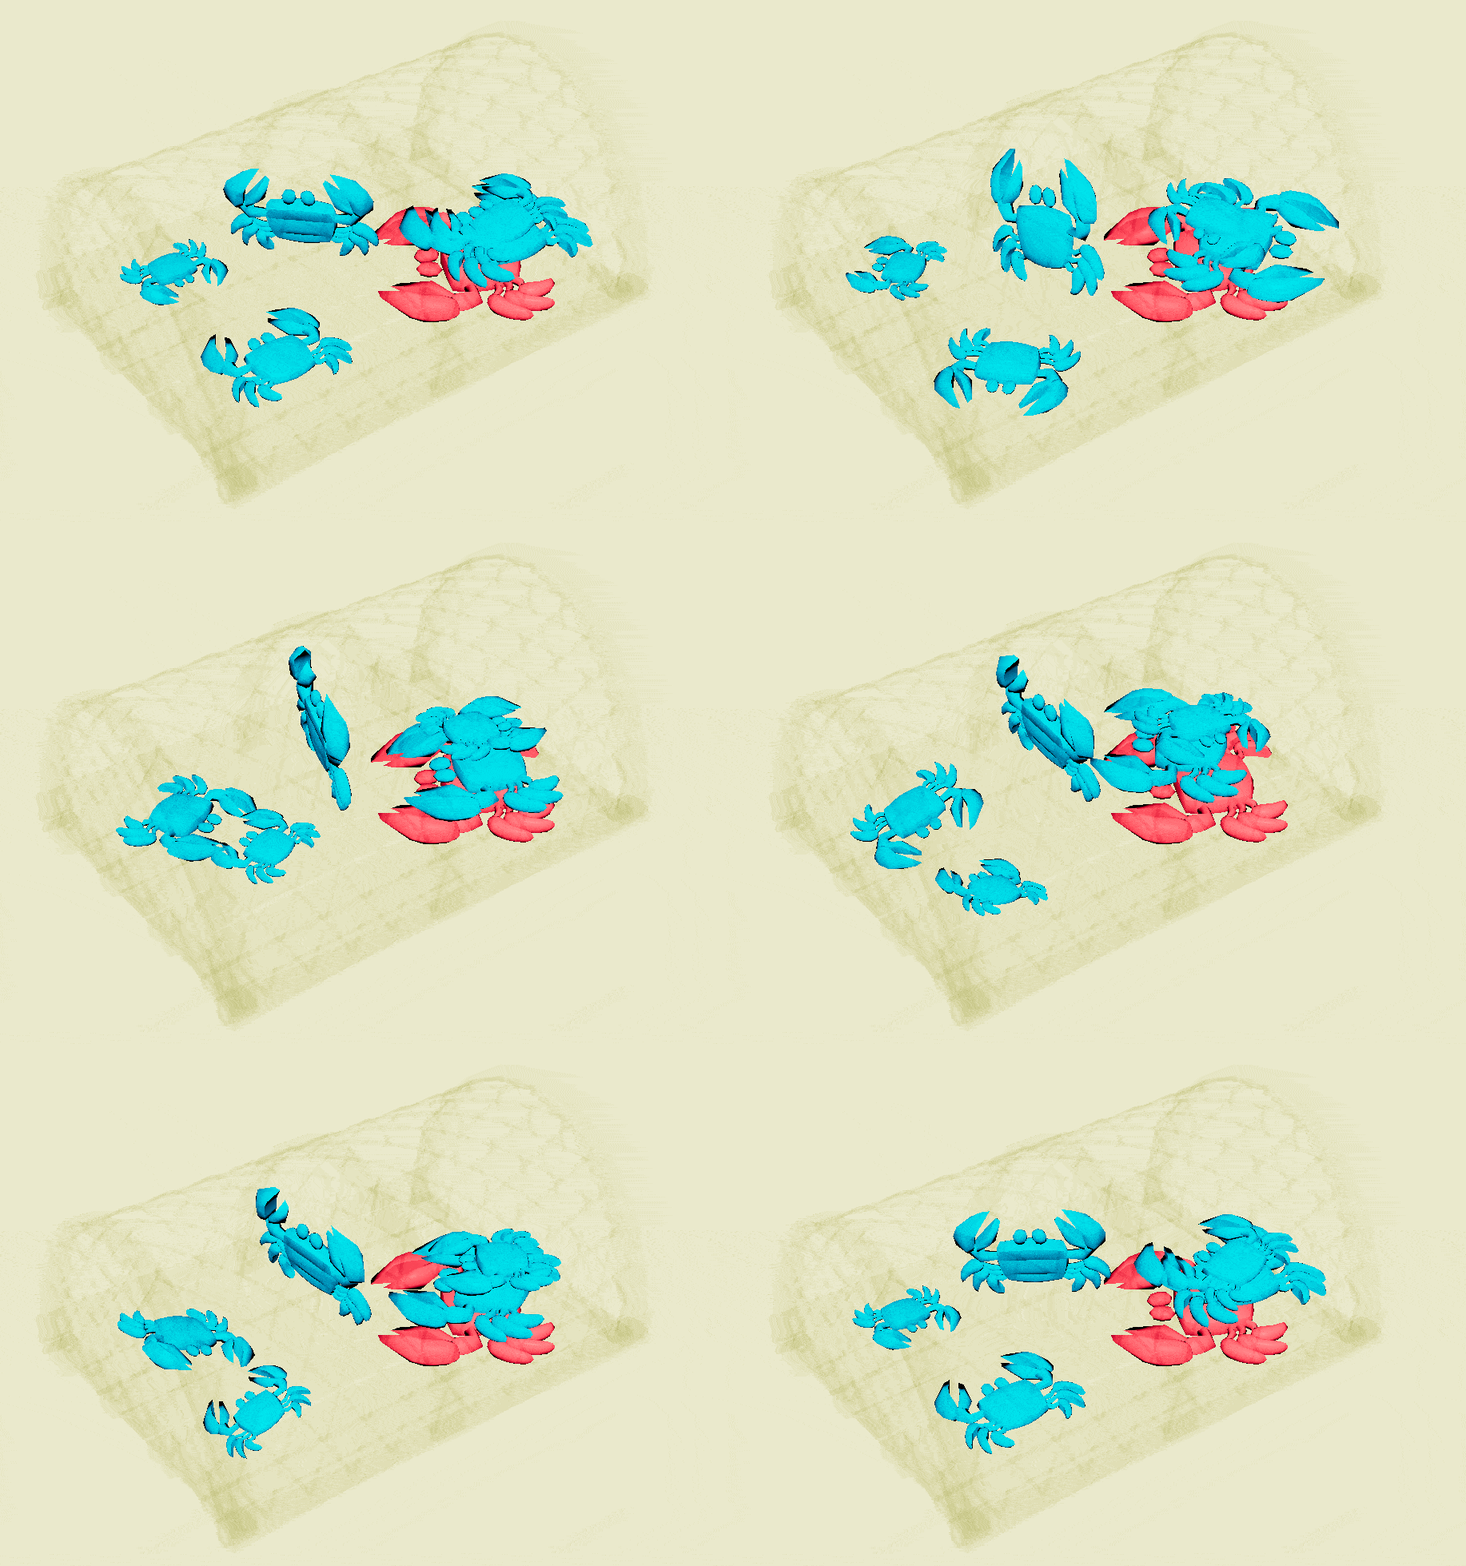
Dancing Crabs

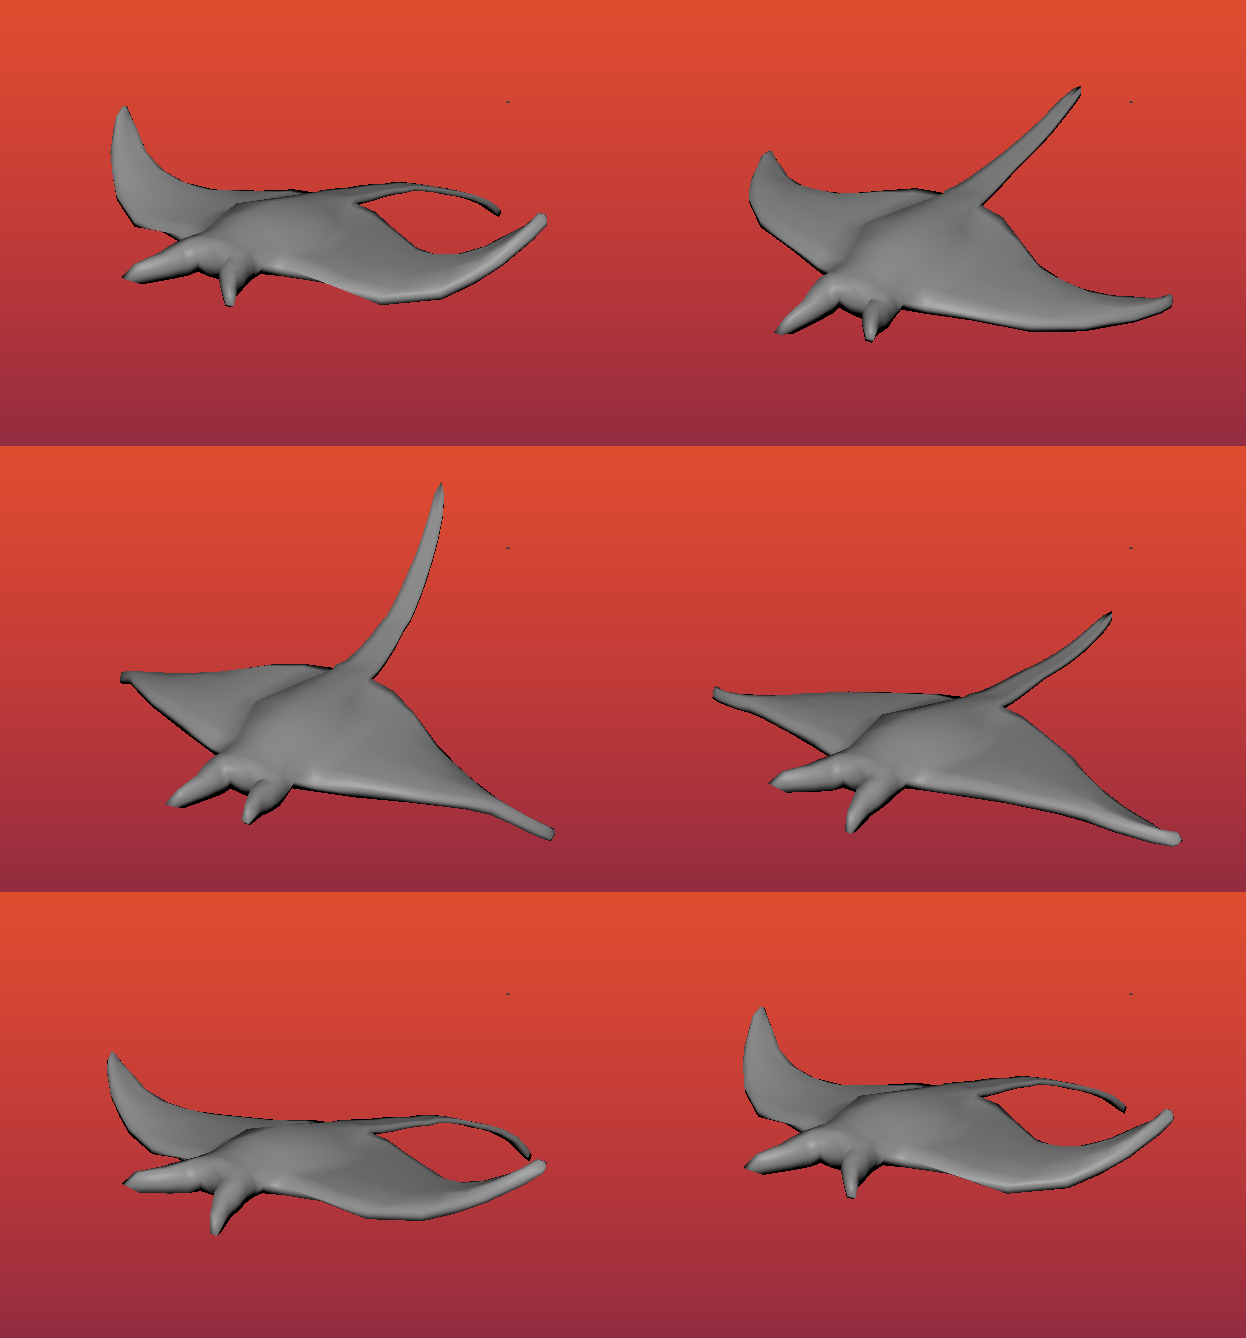
Flying Stingray
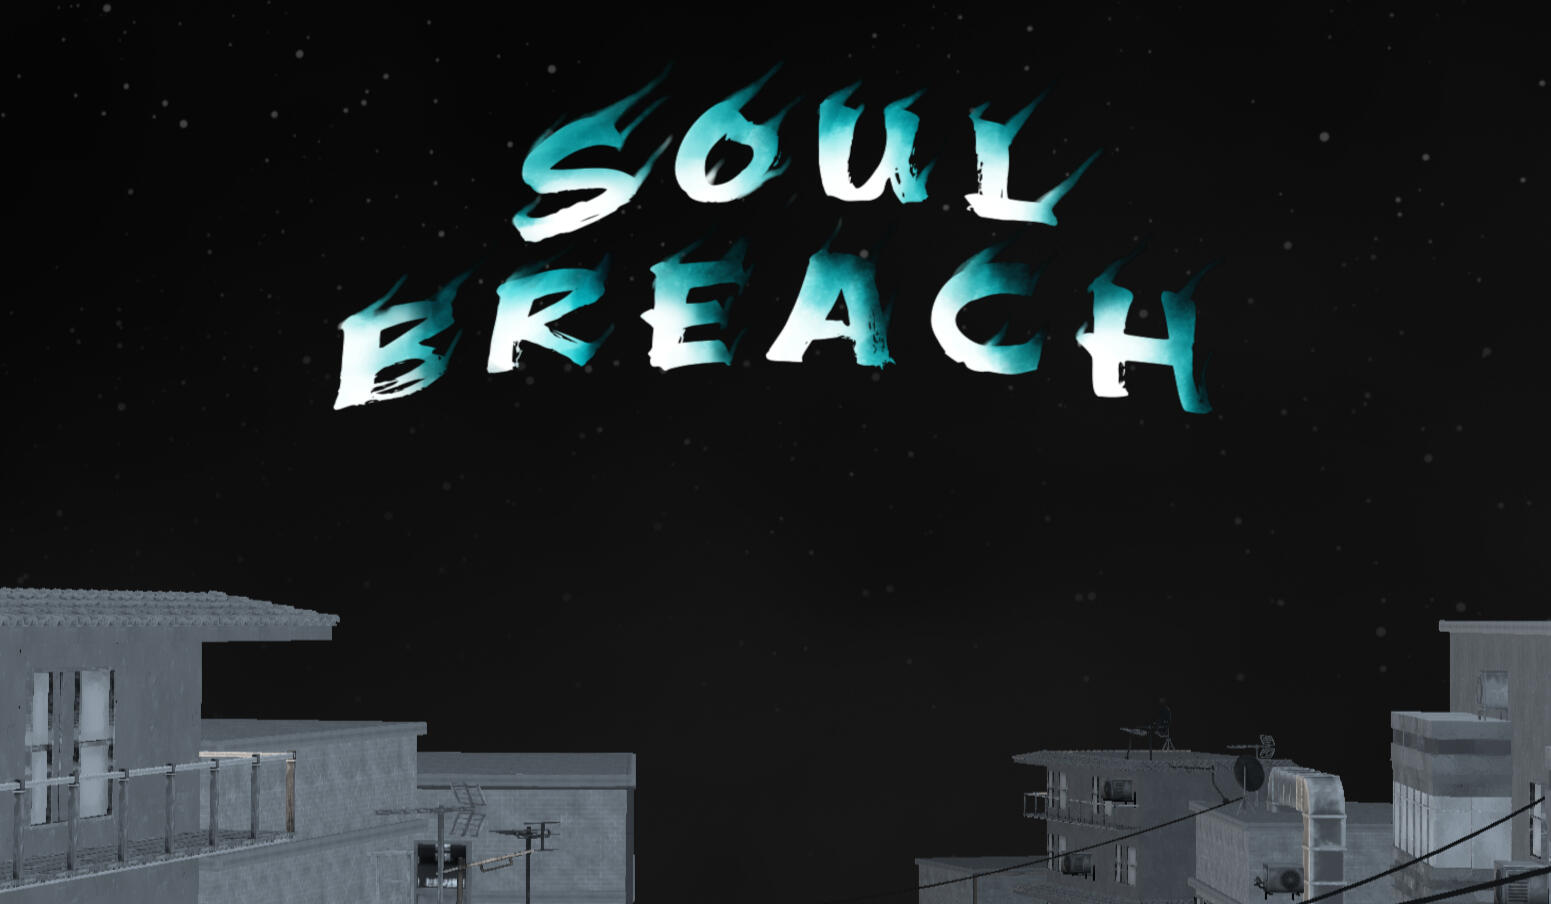
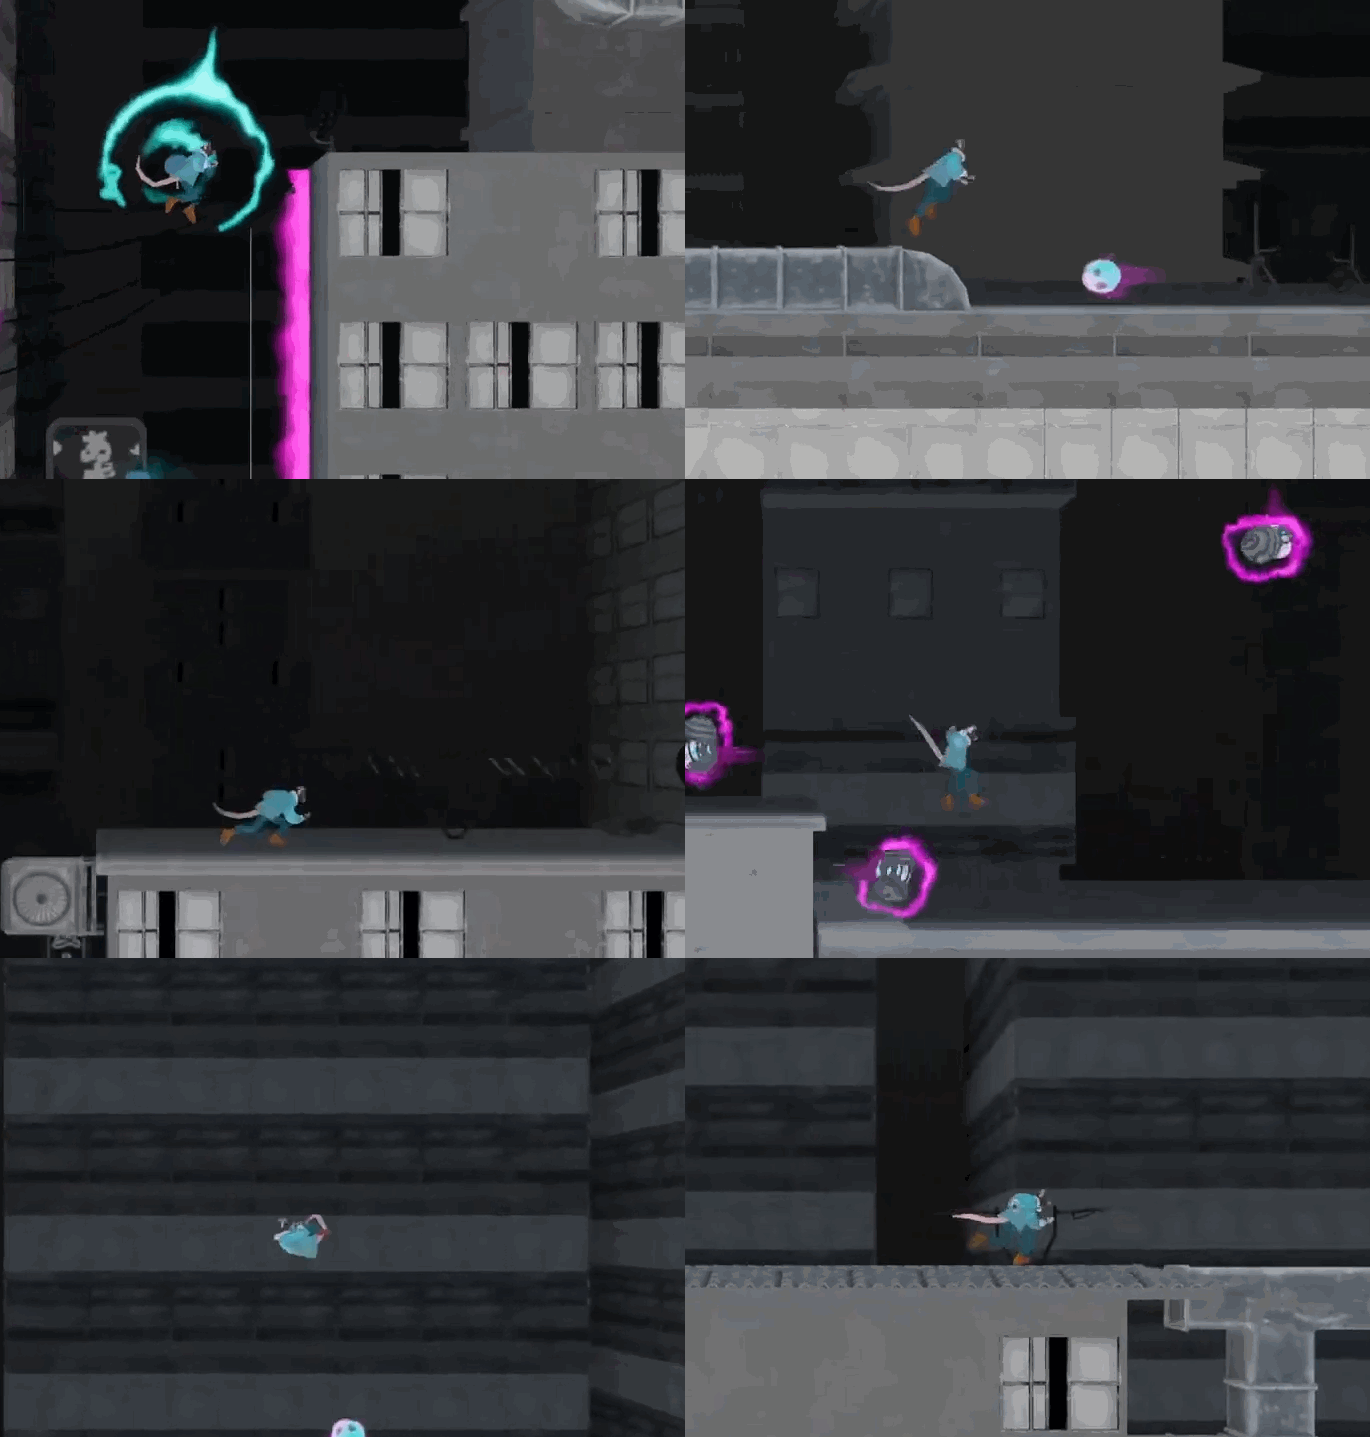
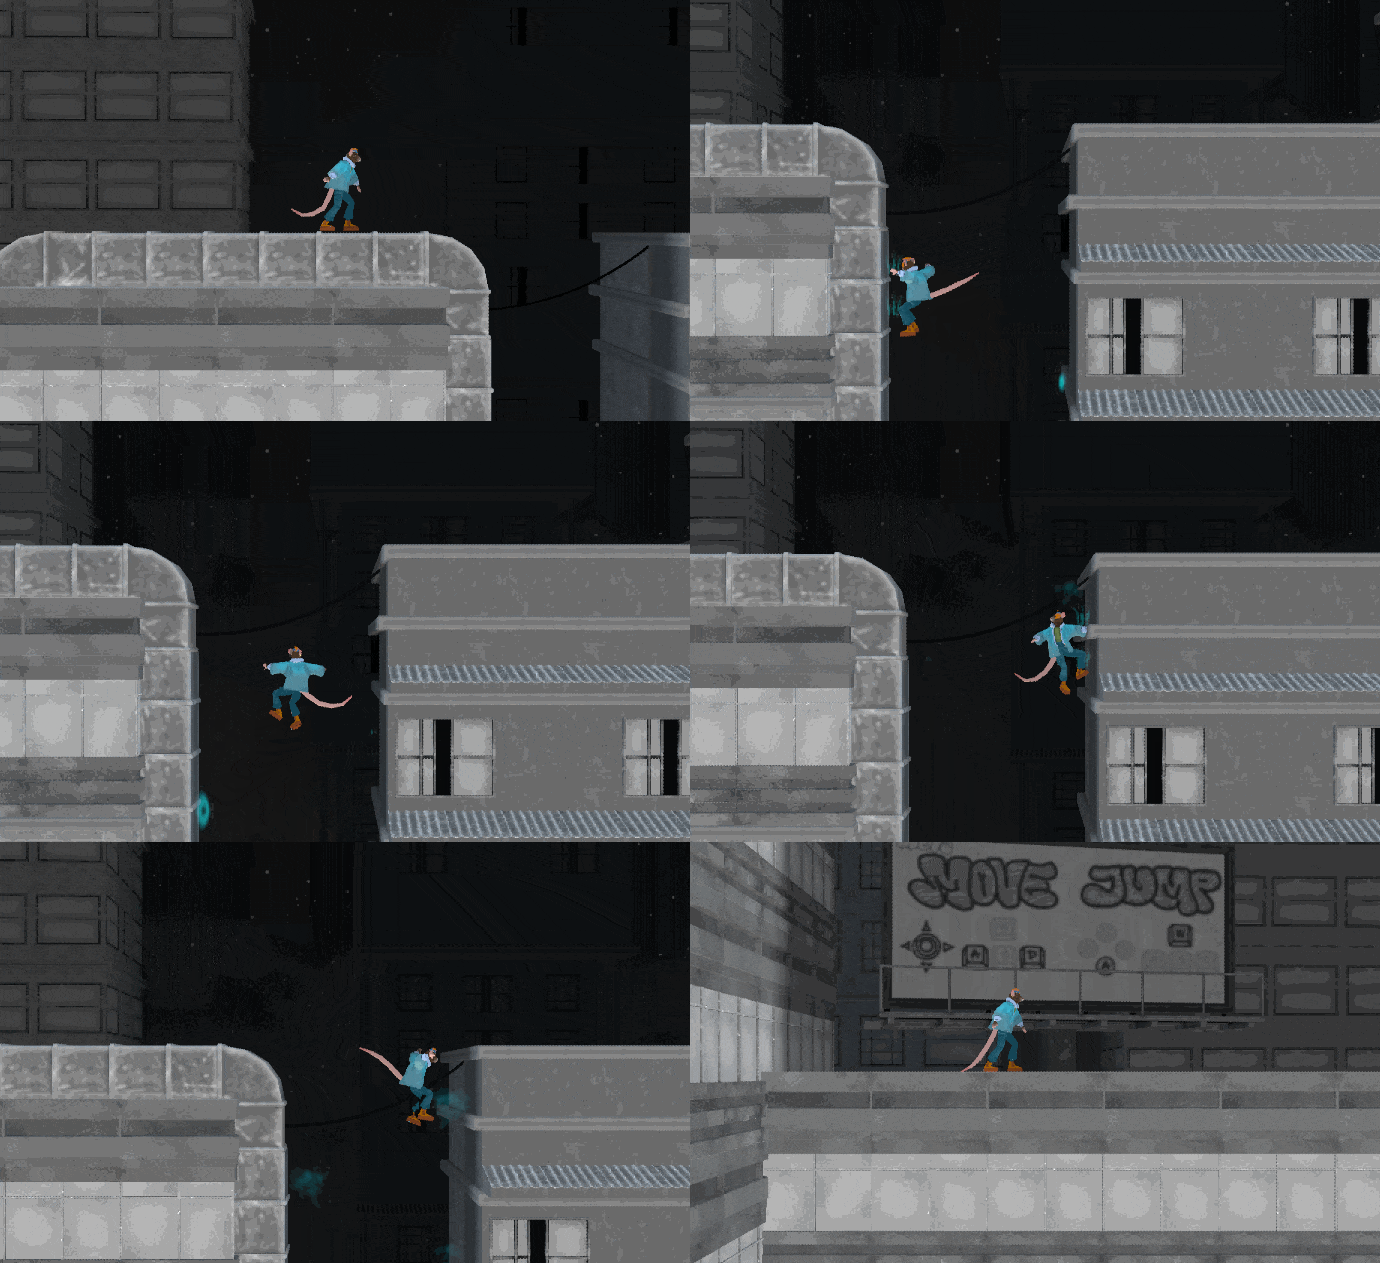
Soul Breach is a 2D parkour platformer set in limbo, a mythical realm between life and death. Filled with yokais and otherworldly creatures. Whomst plucked a shard of your souls to keepsies, its up to you to mend it back together.● Bash through limbo with newfound astral powers
● Captivating parkour gameplay
● Confront dangerous spirits which haunts every corner of this world
behind the scenes
In this project I animated the enemies and polished the player animations & functionality

bash visual functionality

Walljumping

Jumping Enemy

Ranged Enemy
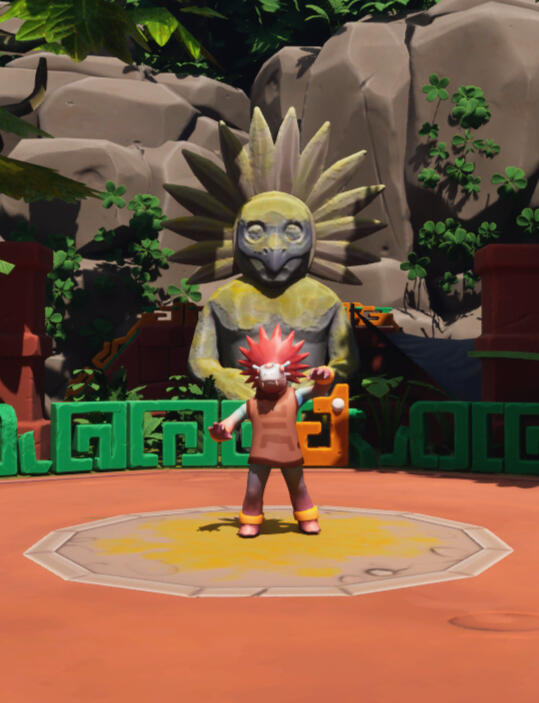
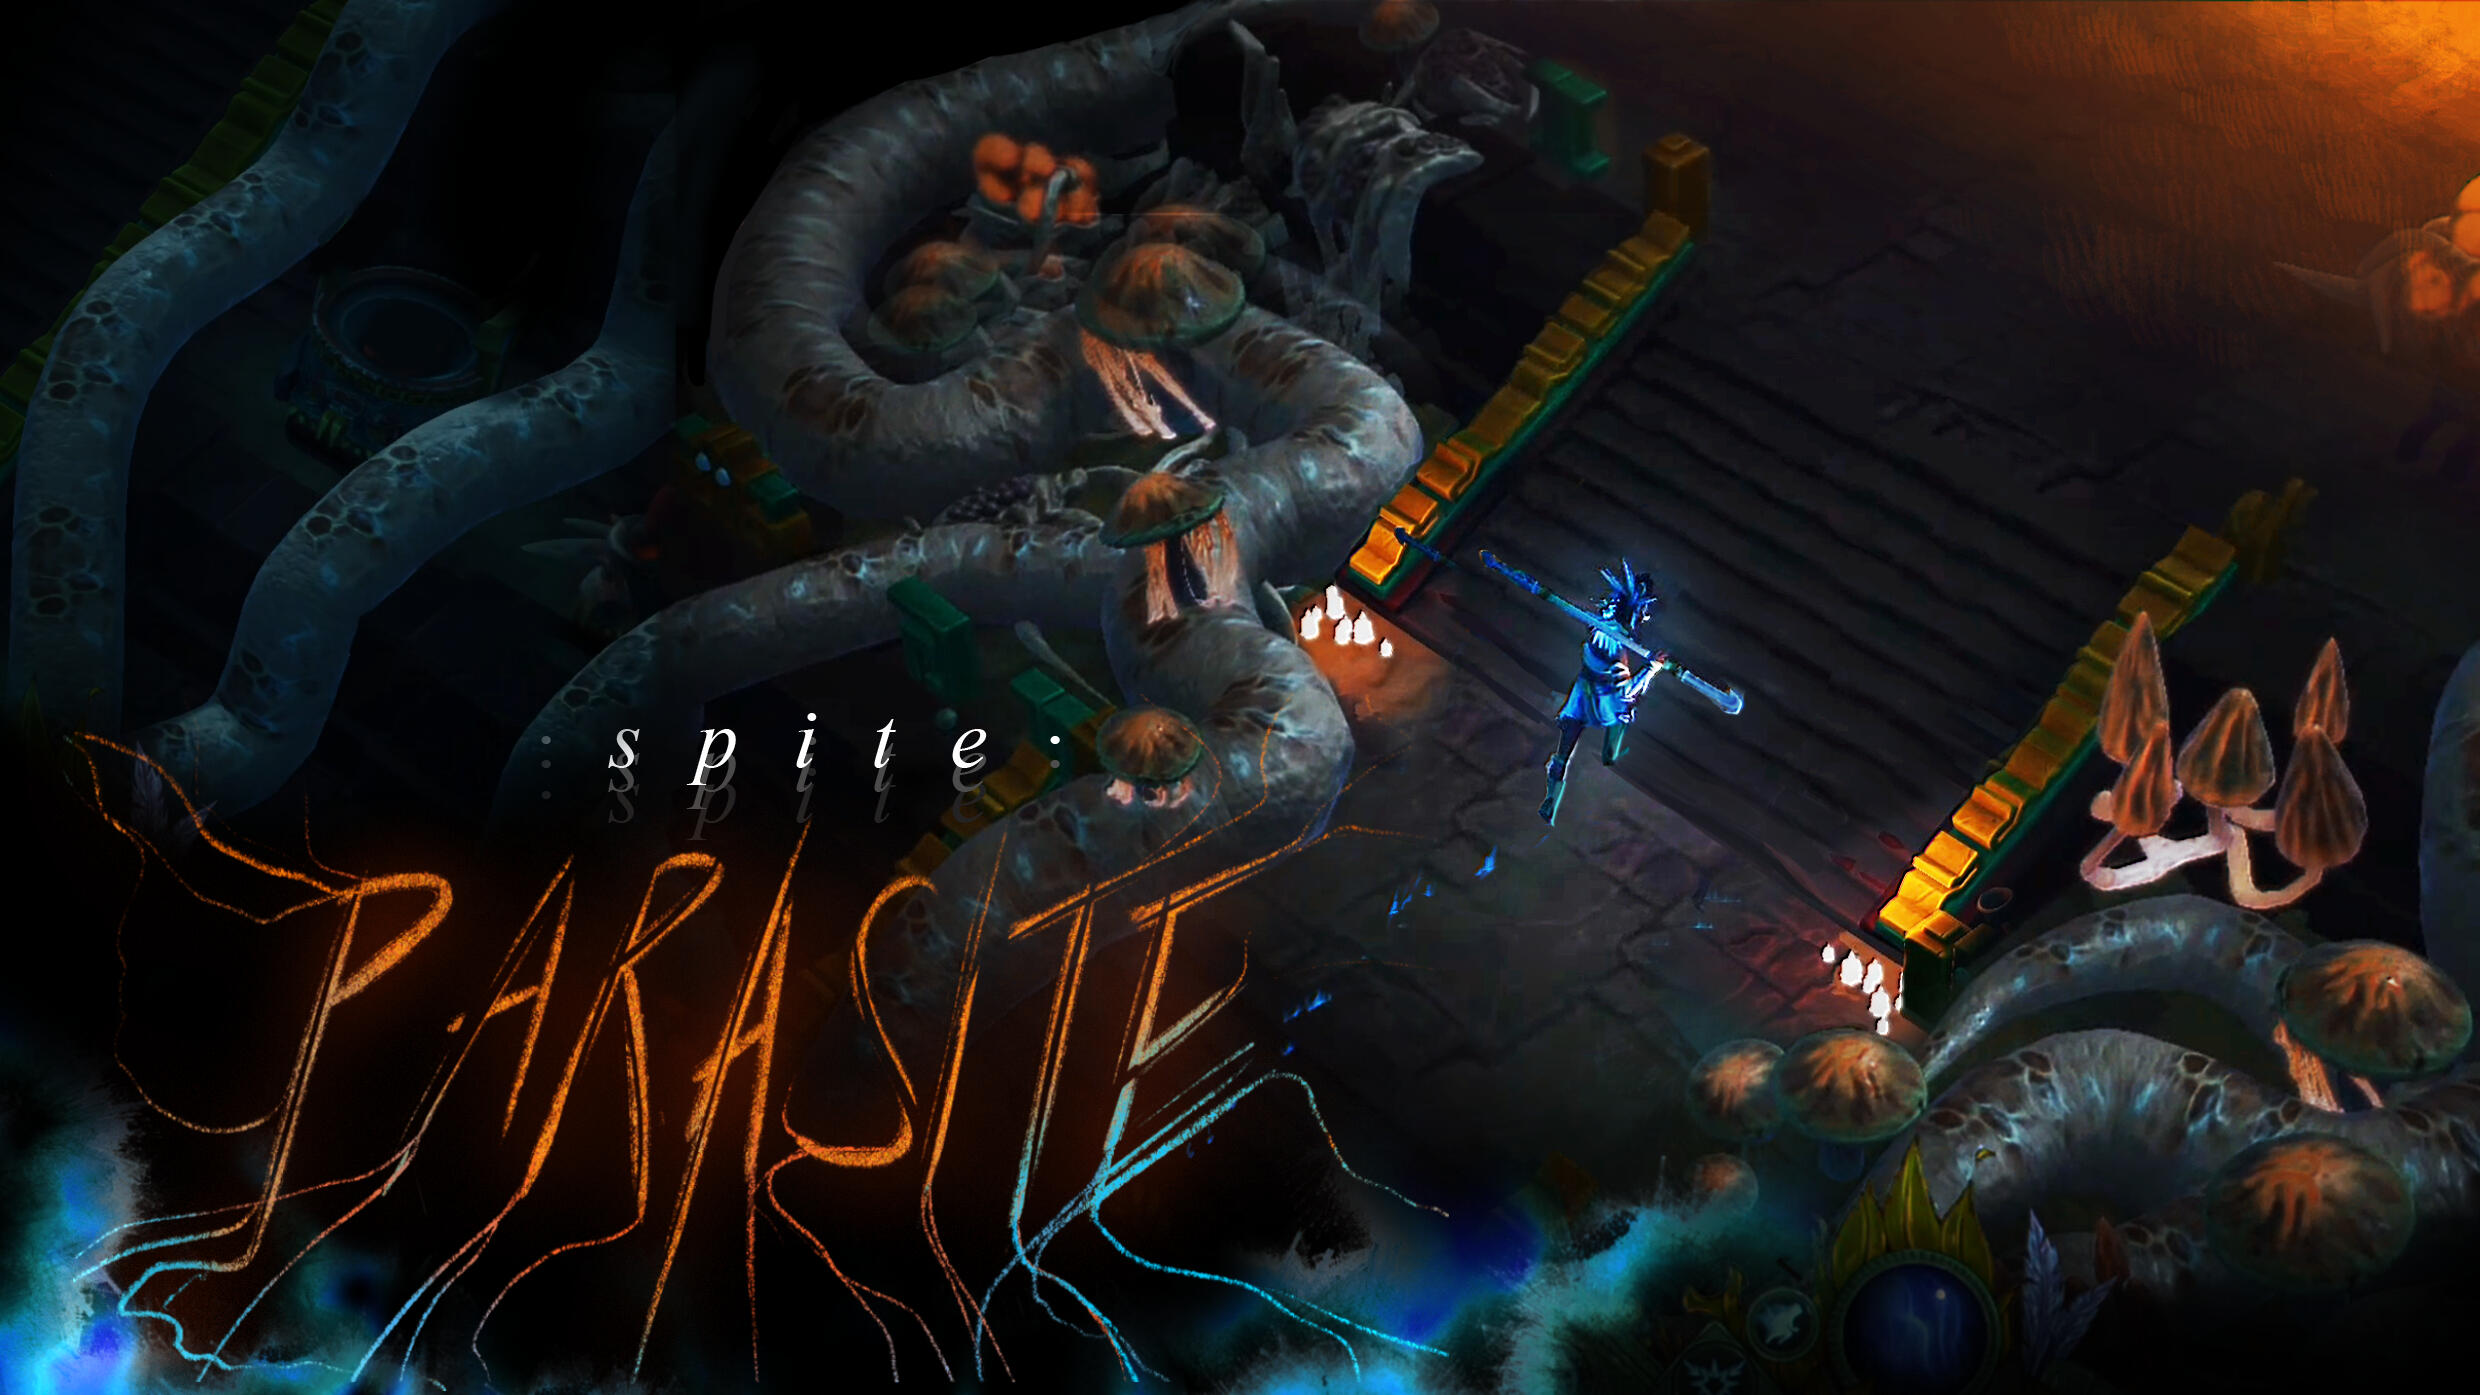
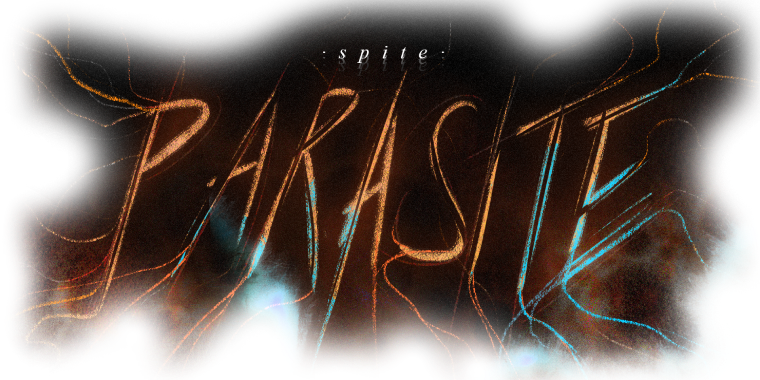
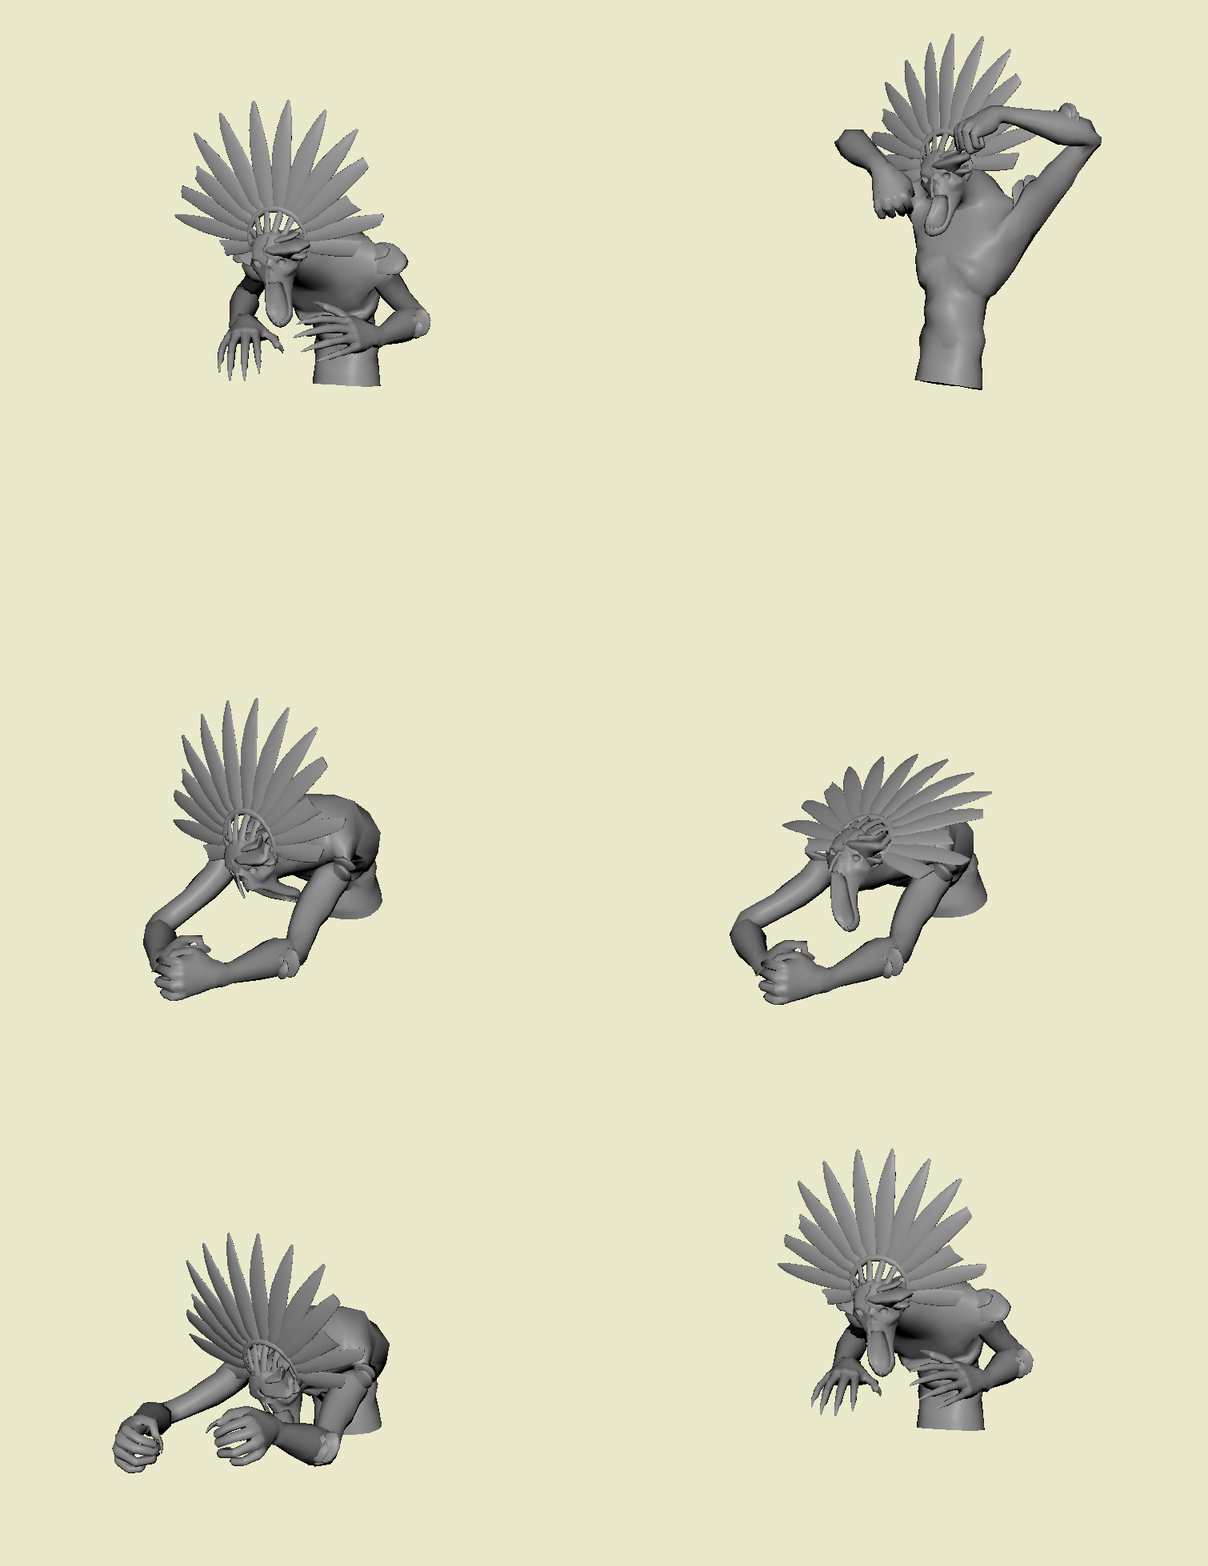
Spite: Parasite is a top down hack & slash where you, a demi-god lay an ancient civilization to rest whose people have been twisted to the point of no return. Stop the spread of fungal corruption with your magical staff.● Dwell deep into the jungle and attain holy fire magic granted by an ancient god
● Burn the rot away and purge it from the innocent souls which it infected
● Unveil the tragic story hidden underneath the rubble and put an end to this epic tale
behind the scenes
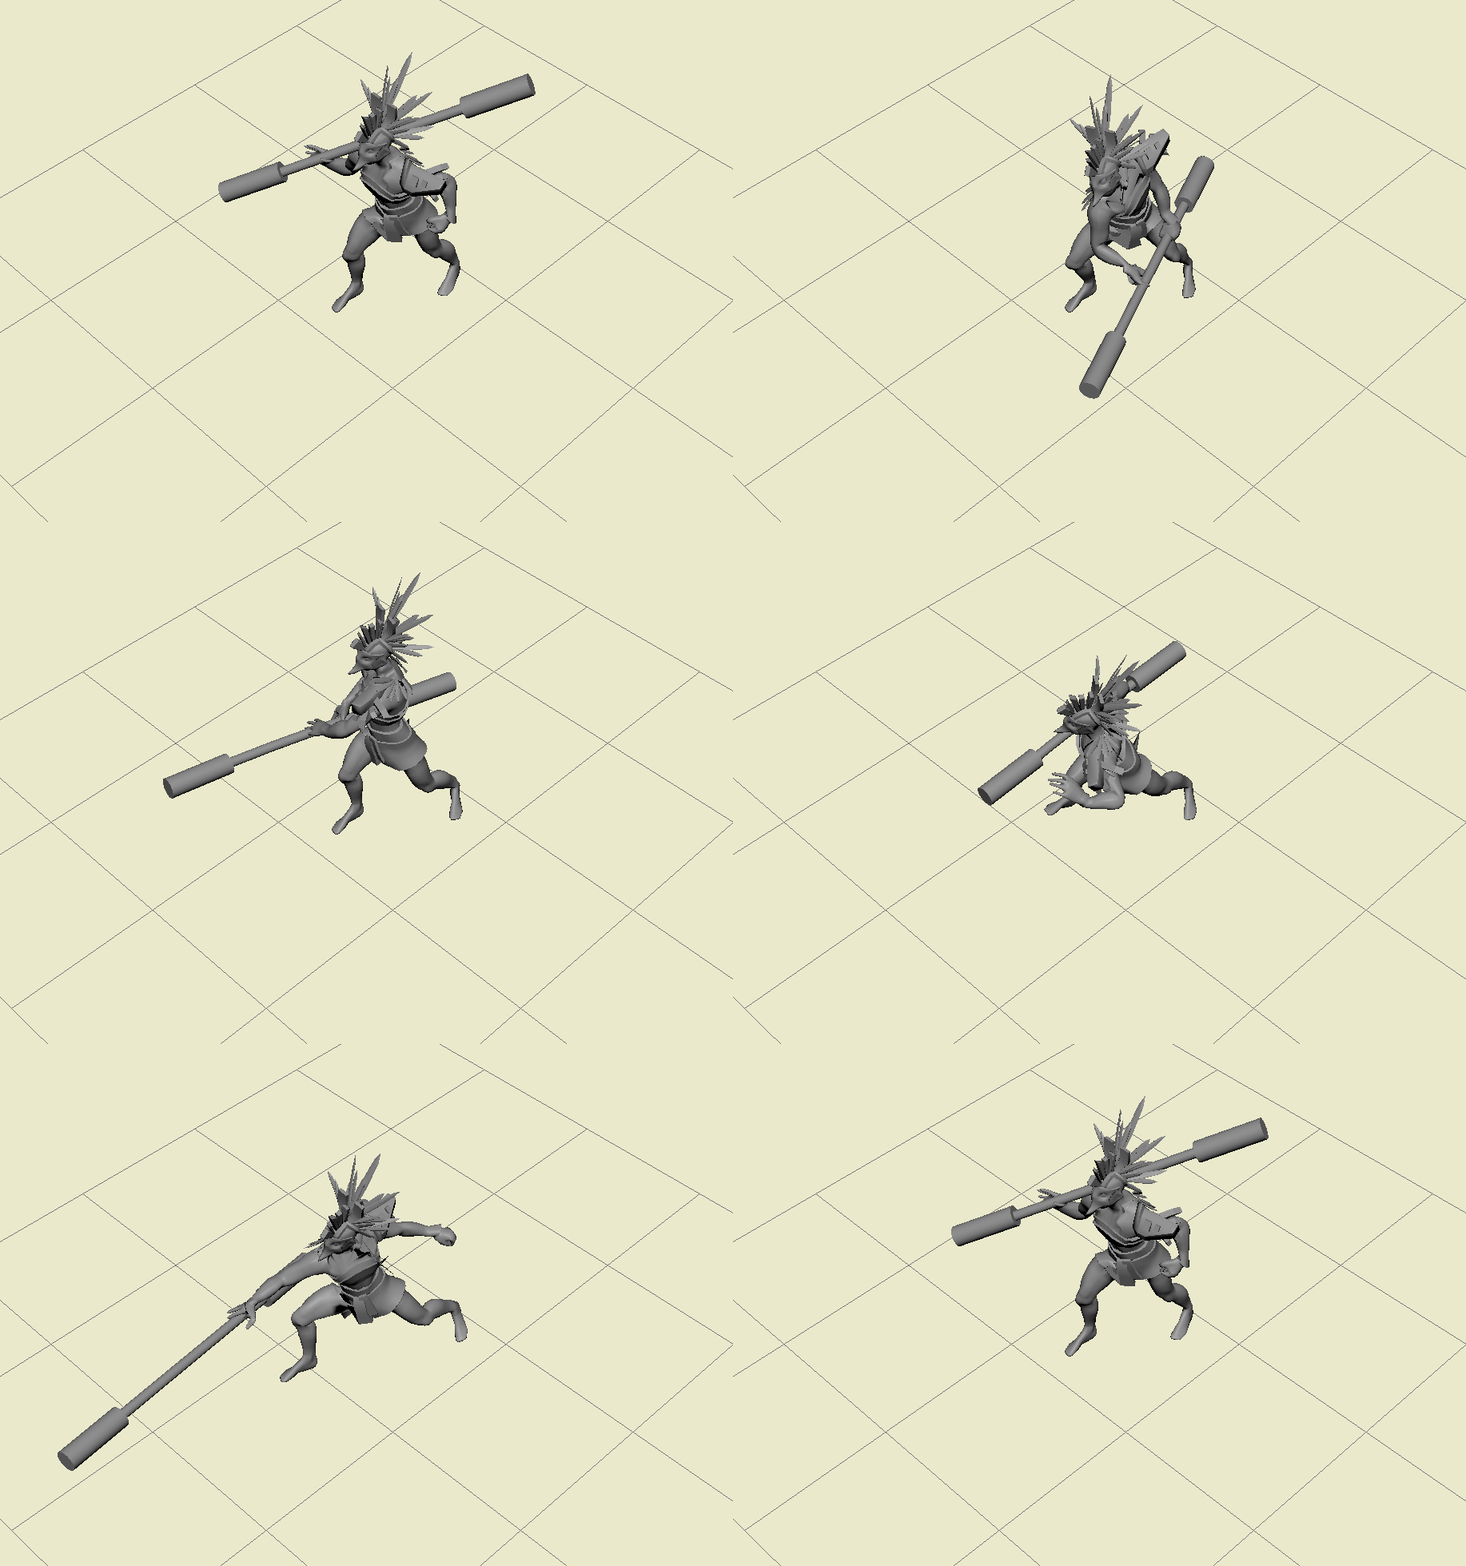
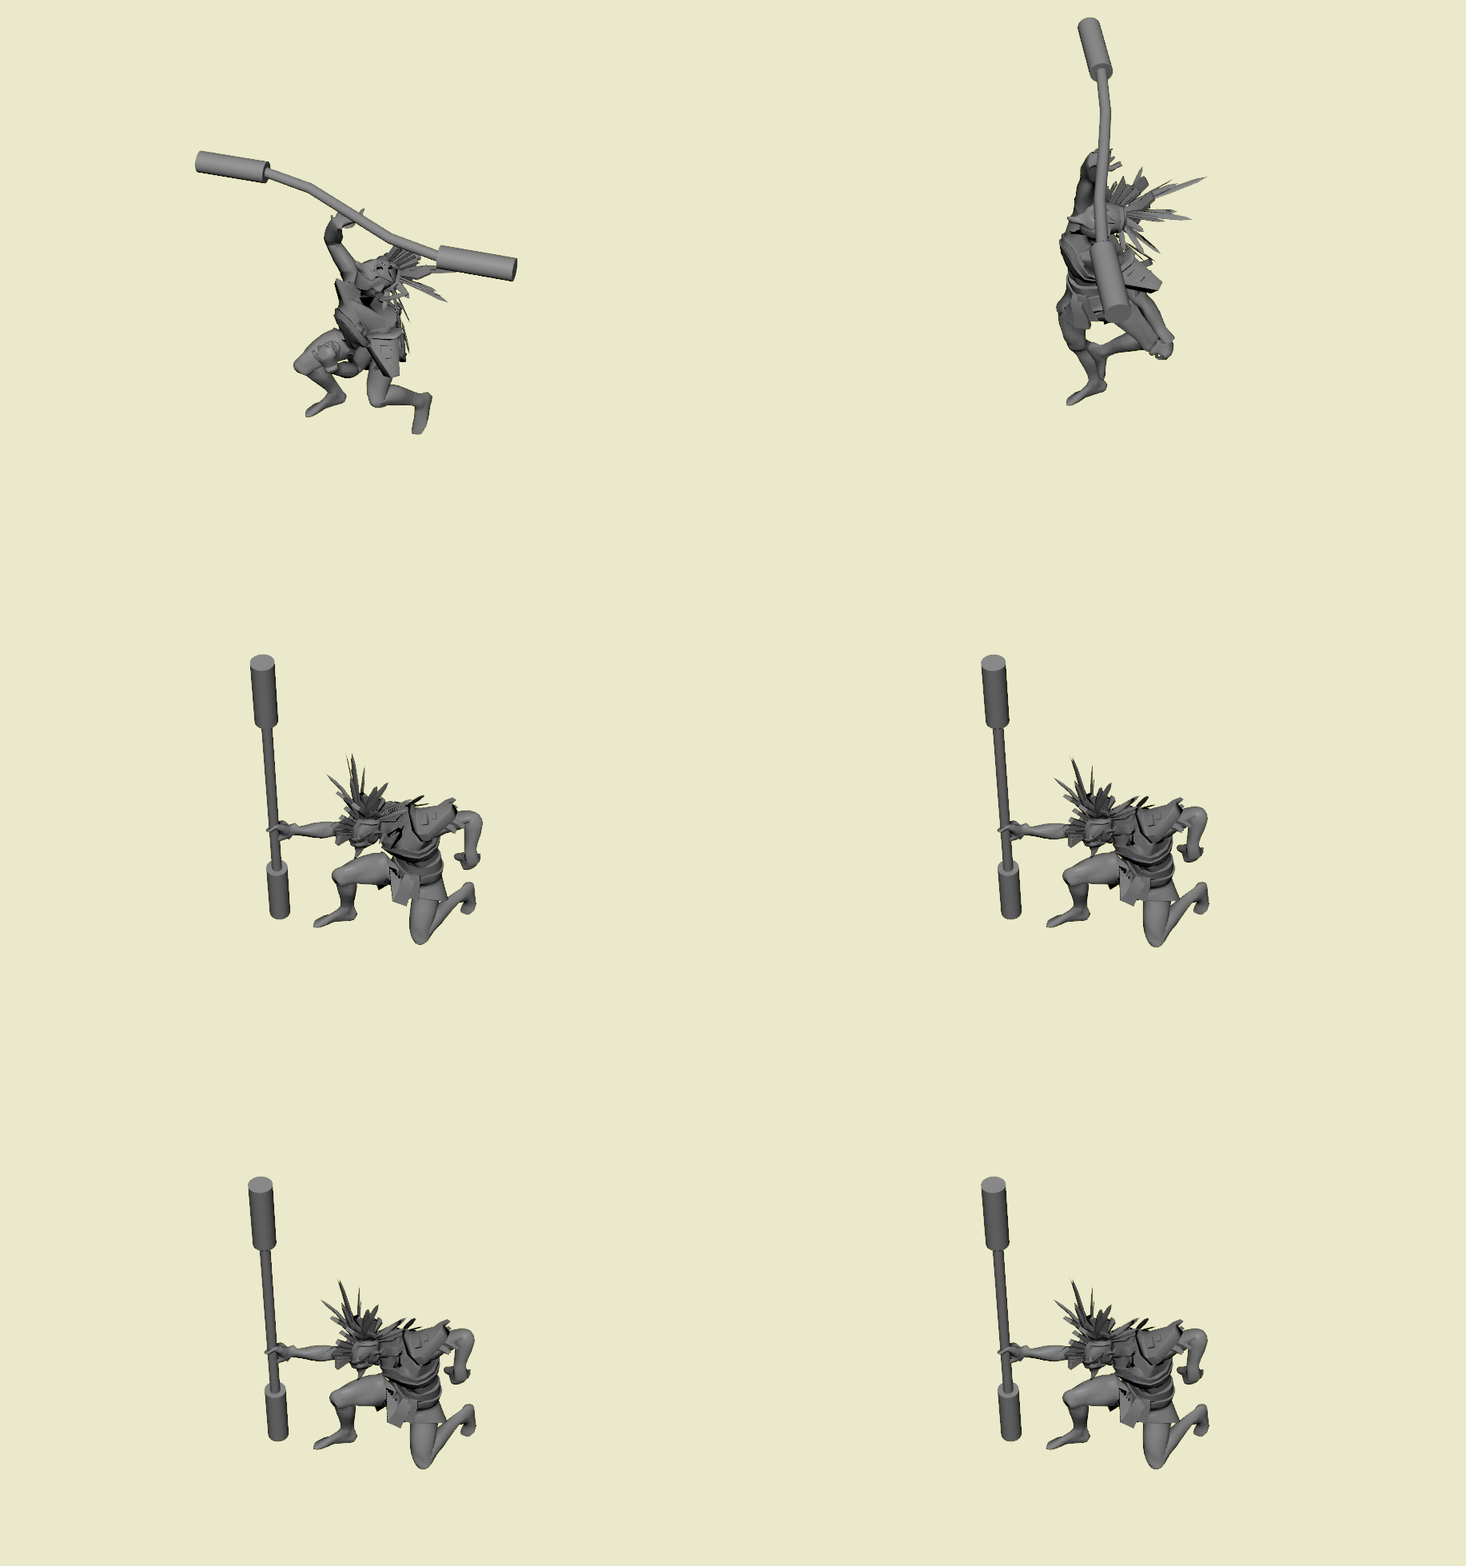
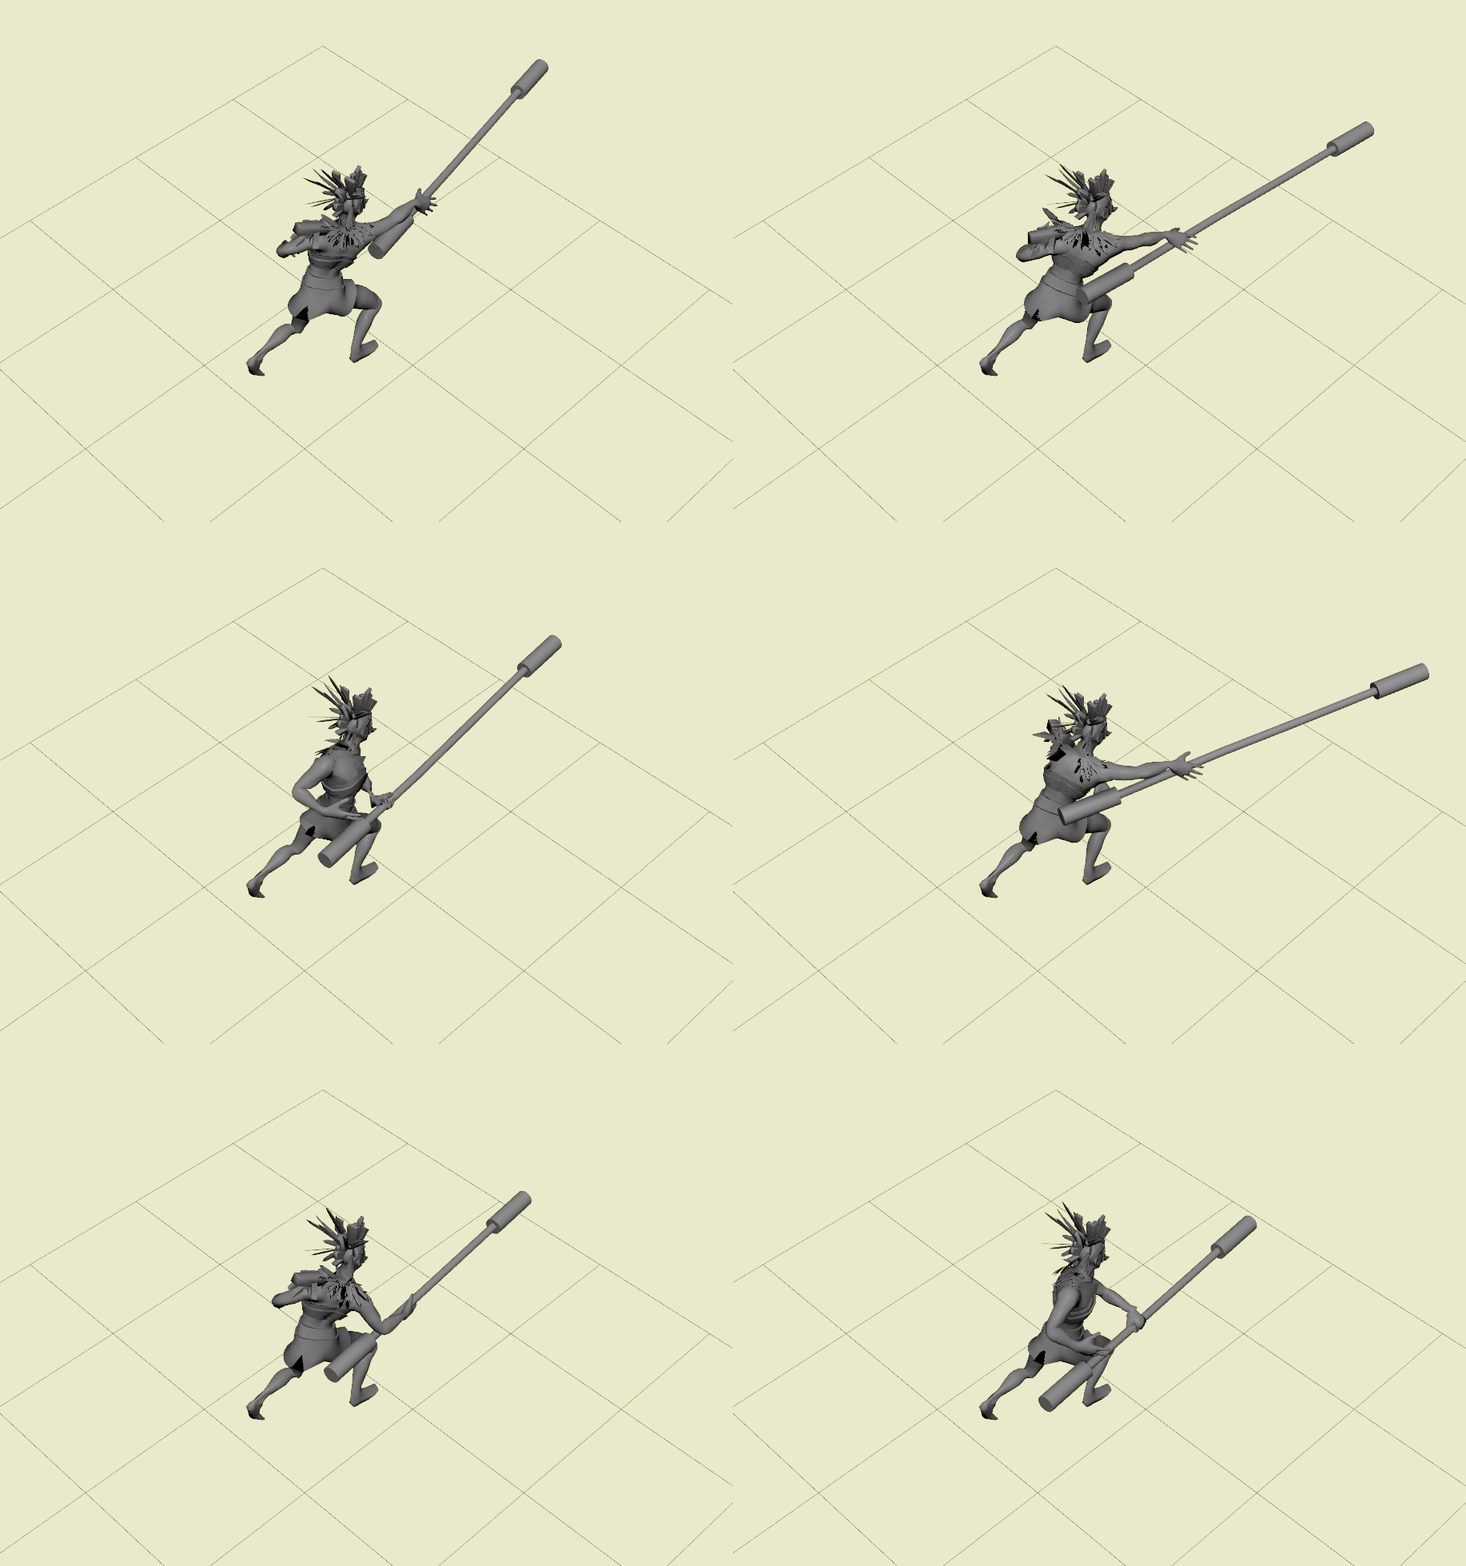
I keyframed the player and motion captured the boss during this project! Here's a few examples

Attack Combo

Ground Blast

Rapid strikes

Boss Mocap
Aztec Trial
The goal of this project was to get comfortable in Unreal, to try to get a better grasp of the logic and some general know-how in the engine. I also wanted to give rootmotion a try and create a project revolving around that.
Blueprints and functionality
The priority in this project was to create fluid movement, avoiding animation cancelling and snapping overall.
The player character is set up with a few blueprints to smooth things out and make the third person combat experience feel more seamless.
Lock On & Combat state

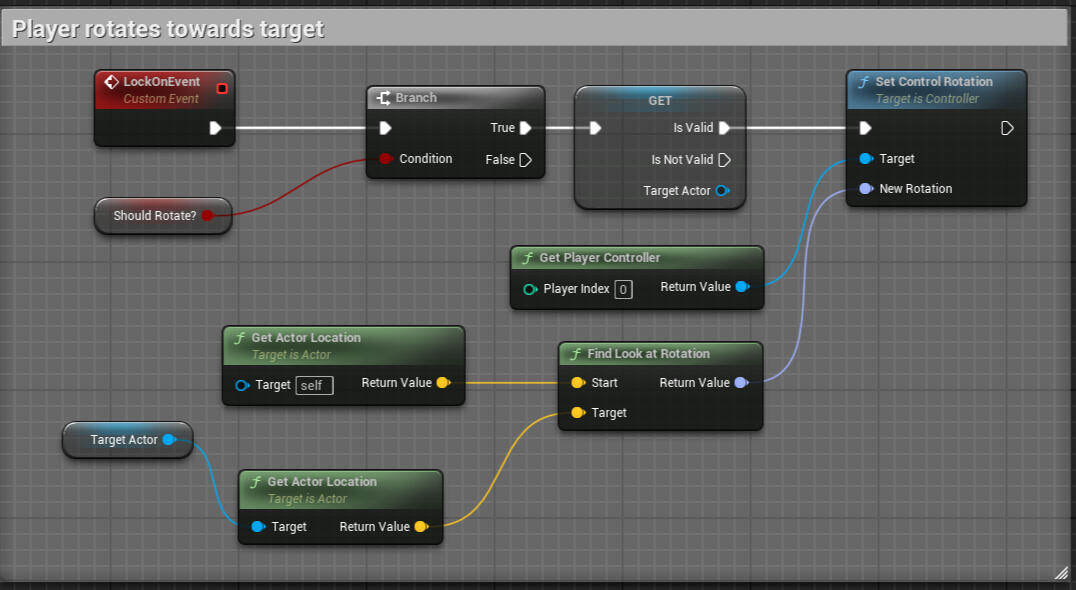

This code forces the player to rotate towards the target, but by also blocking any input from influencing the rotation. The character simply slides sideways, coupled up with a trigger and some complementary animations and you have a 8 directional moveset.It also calls upon an animation and camera transition when the lock on engages. Which makes the player seamlessly step forward alongside a different camera angle to signify that they've entered a battle stance

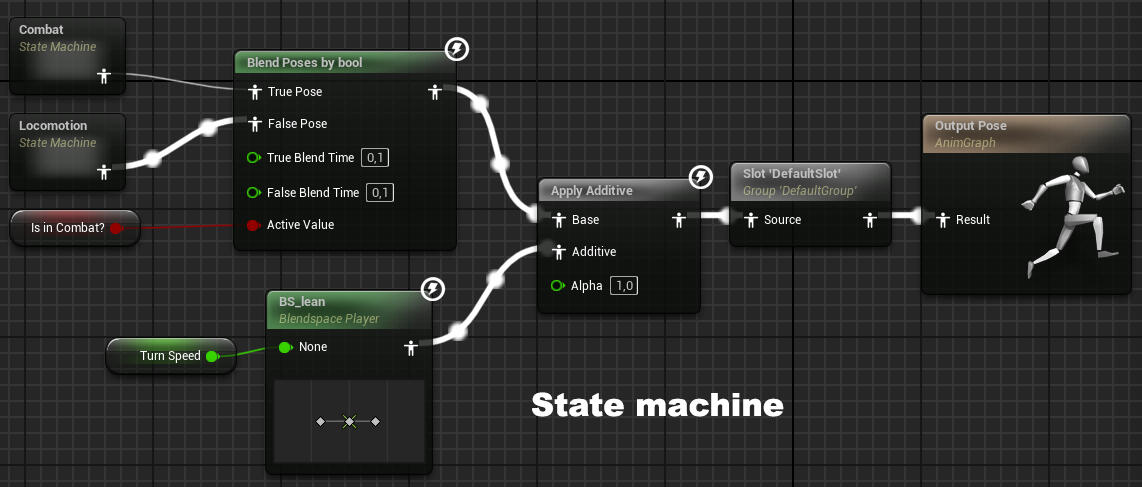
Leaning
As for how the character leans I simply check the characters previous rotation. Then get the velocity based off quickly the player turns to an extent.
Plug that into a float (turn speed) which tells a blendspace what two poses it should progressively lean into during the run animation.
Enemy
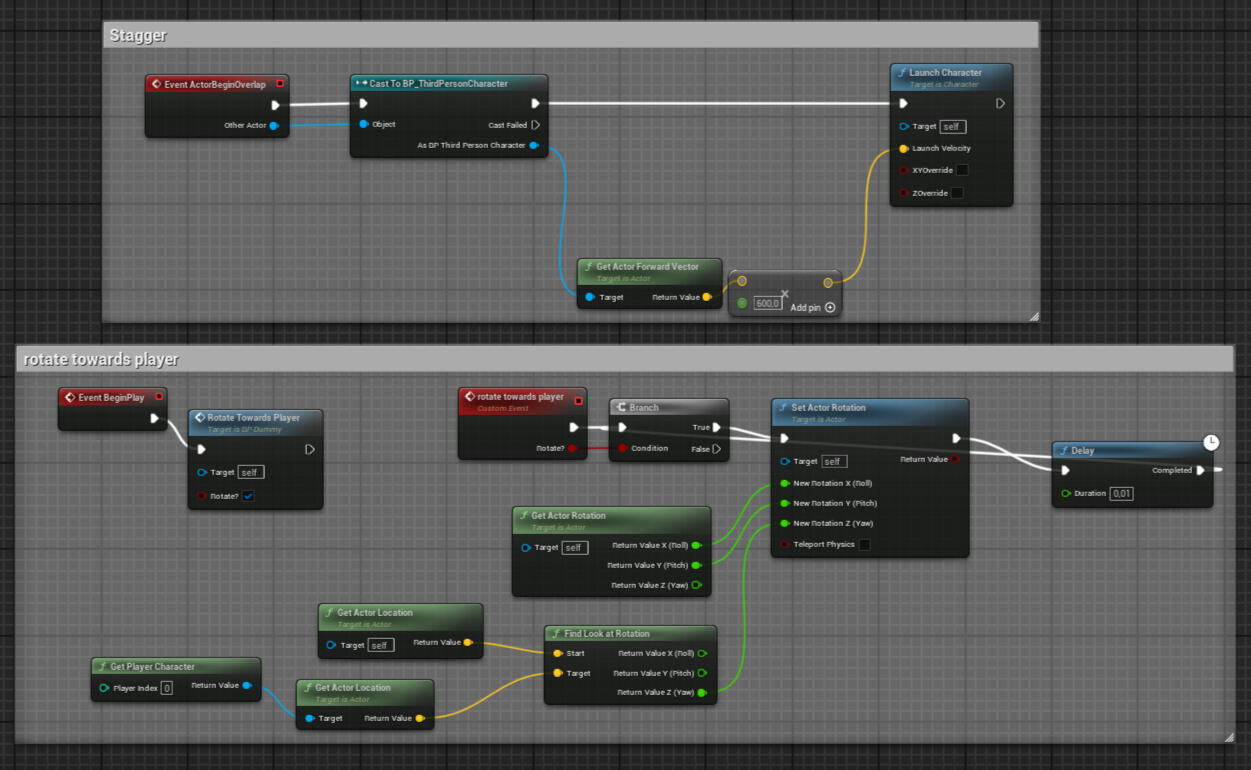
For the opponent within the scene to react and follow the players location.
I essentially just copied my previous Lock On blueprint nodes and applied it to the actor instead of a controller.
I also overwrote the In Air with the stagger animation so that I didn't have to create another condition for when the player hits them. Since they get slightly launched up into the air on hit.
Then I put a delay on it so that it doesn't immediately return to idle when the character lands again.
So now it effectively looks and works like a regular recoil function.
Animations
Special thanks
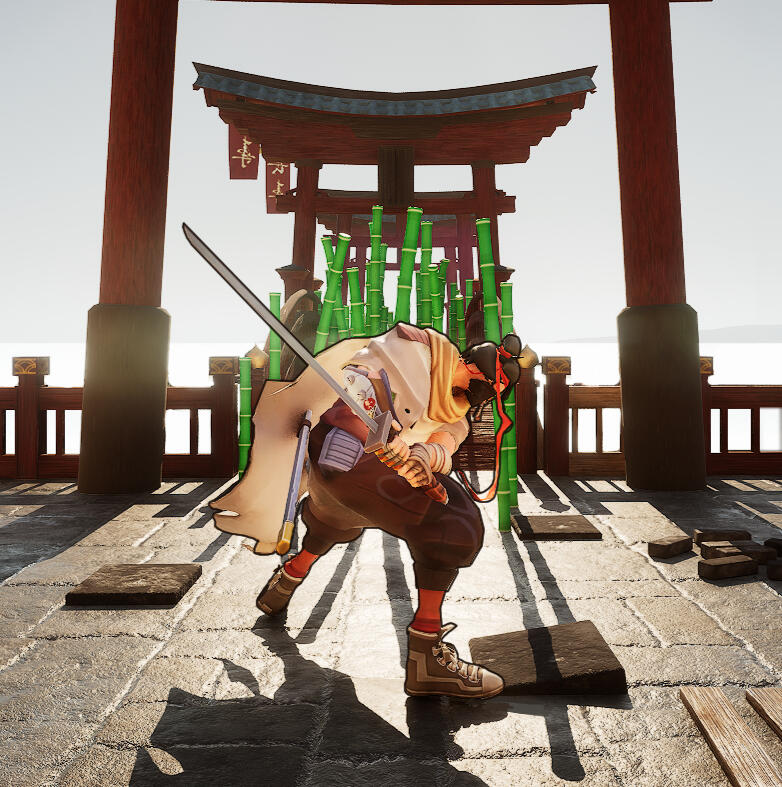
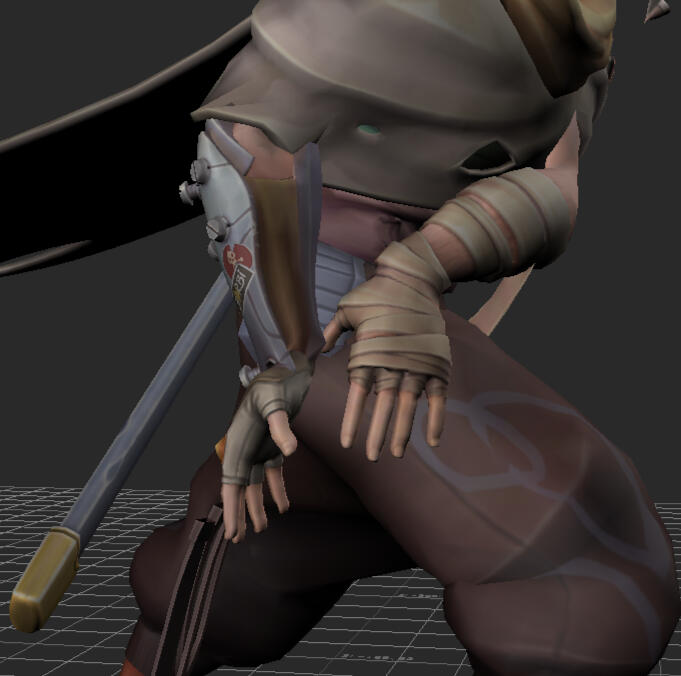
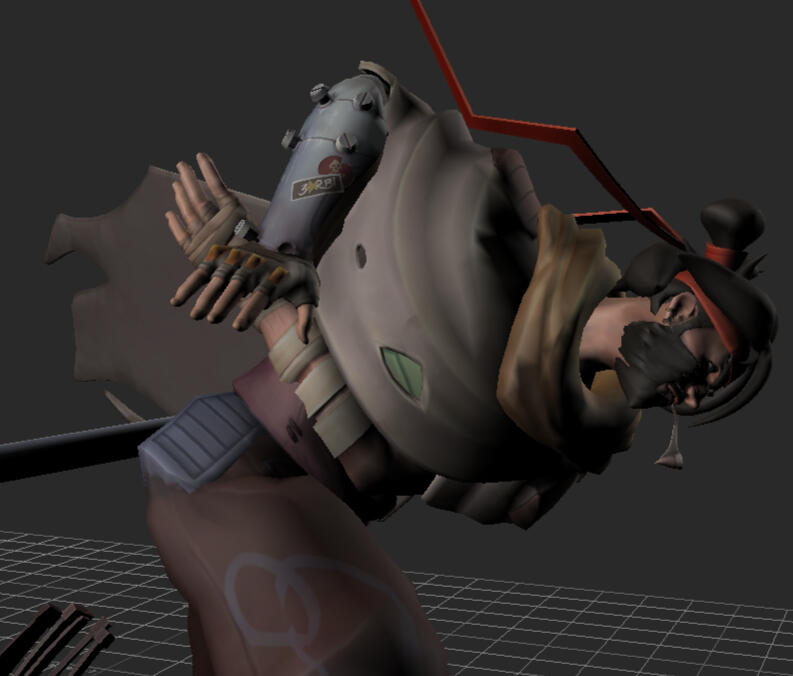
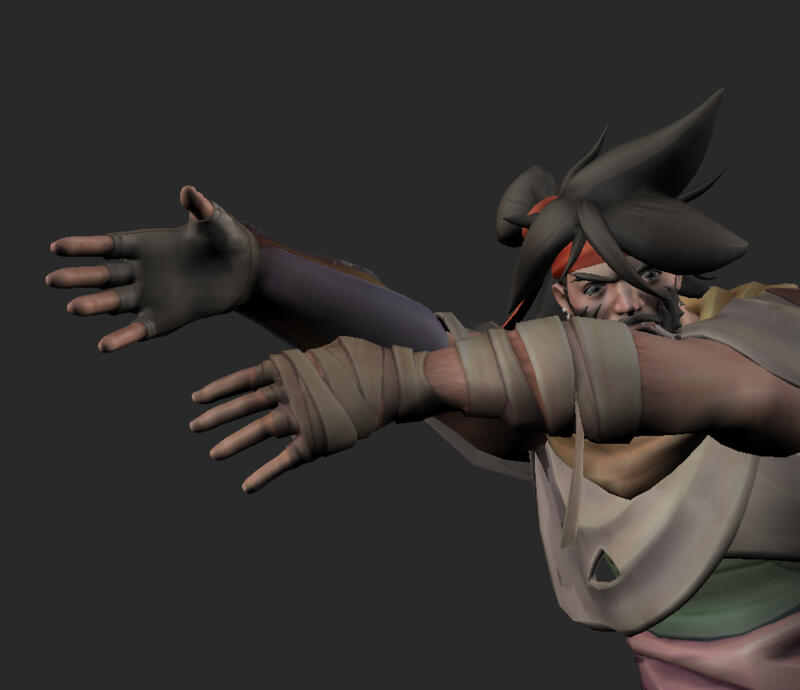
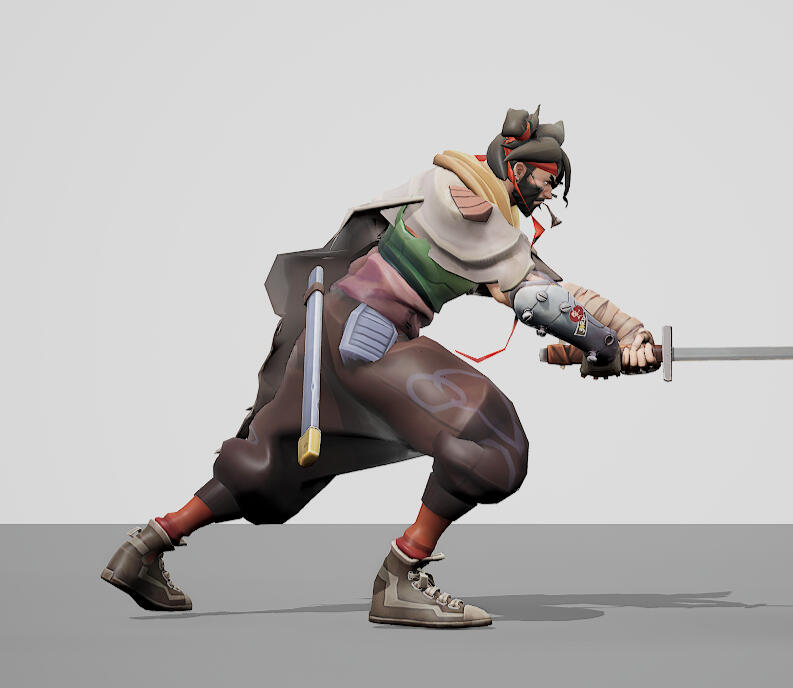
Bamboo Epidemic
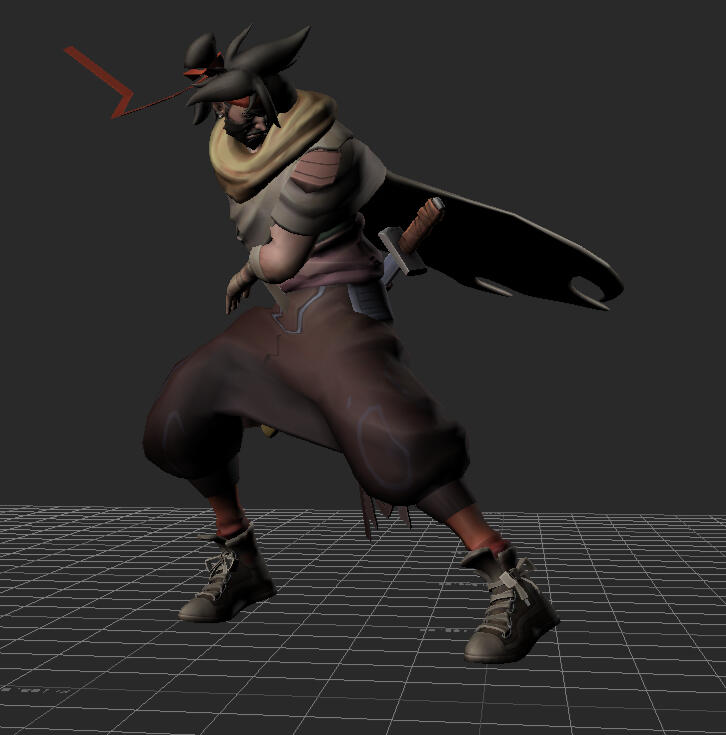
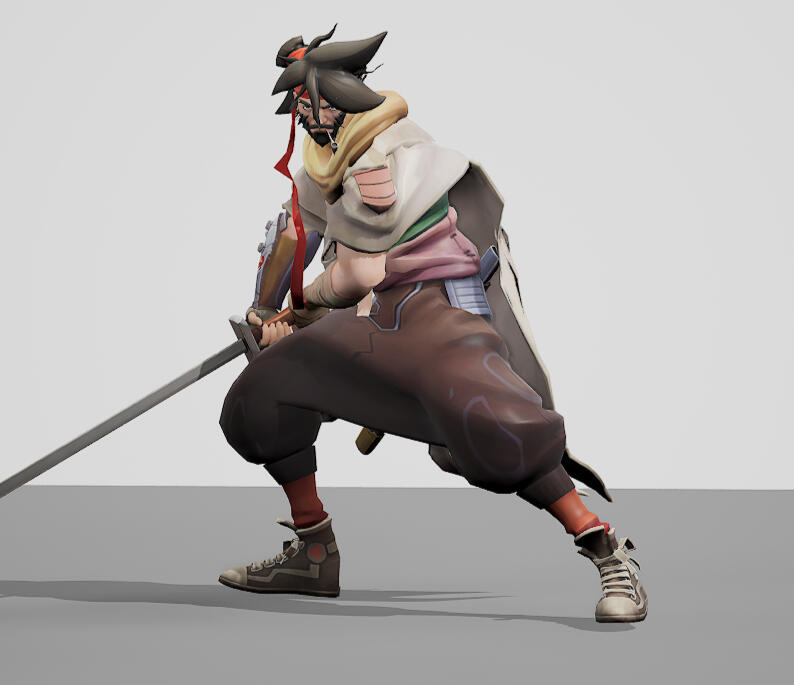
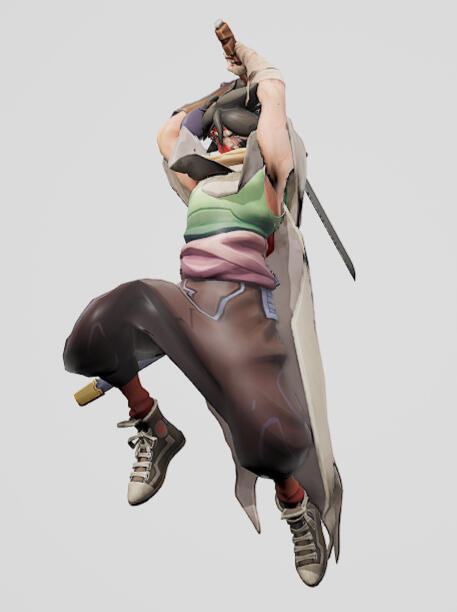
This cinematic was my first thorough attempt at cleaning motion capture data!
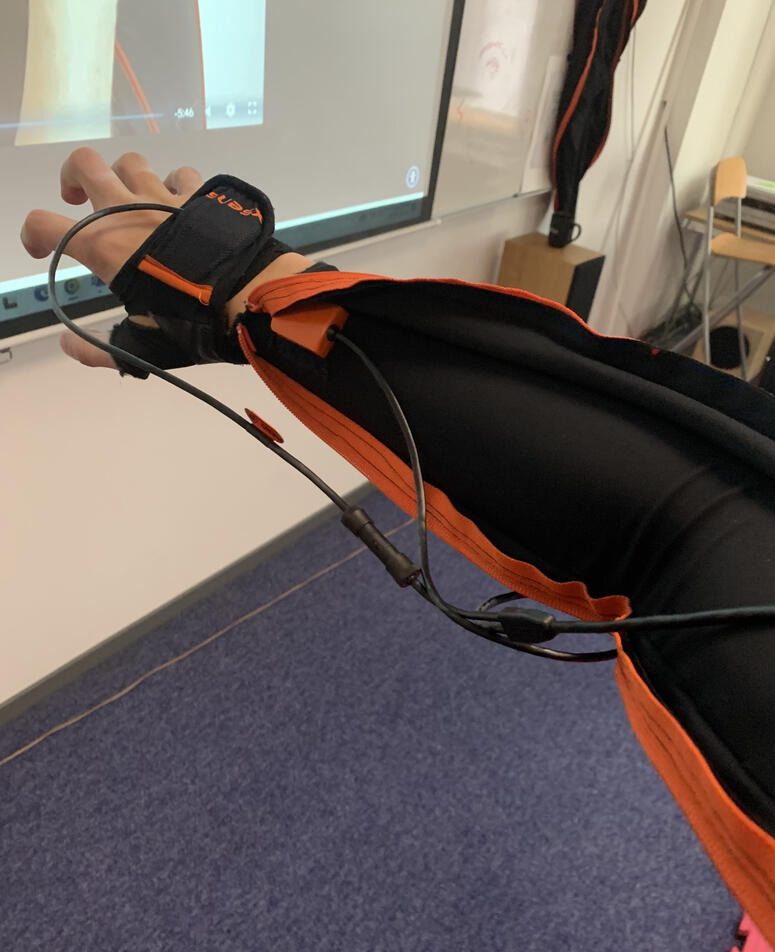
I used the Xsens gear to record and then I cleaned it in Motionbuilder and imported it into Unreal.
Lastly, I animated the camera work, applied some cloth physics and equipped the sword.
↓ Scroll points ↓
Idea and Execution
The initial plan:
The cinematic was supposed a fight between 2 characters. Where the opponent kept taunting the protagonist before reappering somewhere else with a smoke bomb.Pipeline:
● Retarget and clean the animation within Motionbuilder.
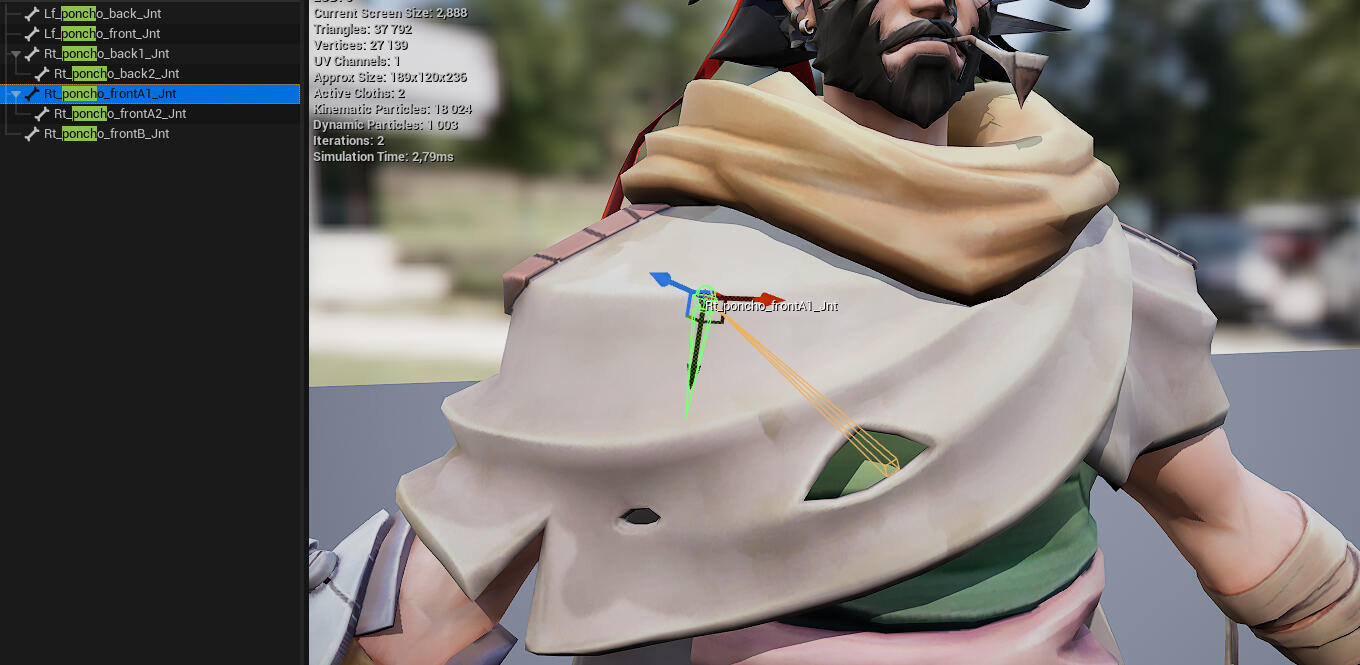
● Bake the data to the rig scene in Maya, equip the weapon, keyframe the poncho as to not collide with the body mesh.
● Import to Unreal Engine 5, set up a camera and apply cloth physics to the cape and headband.The execution:
Due to my inexperience I ran out of time to animate a second character for the scene.
The protagonist had to hit something else instead, so I settled for making some bamboo sticks from scratch!
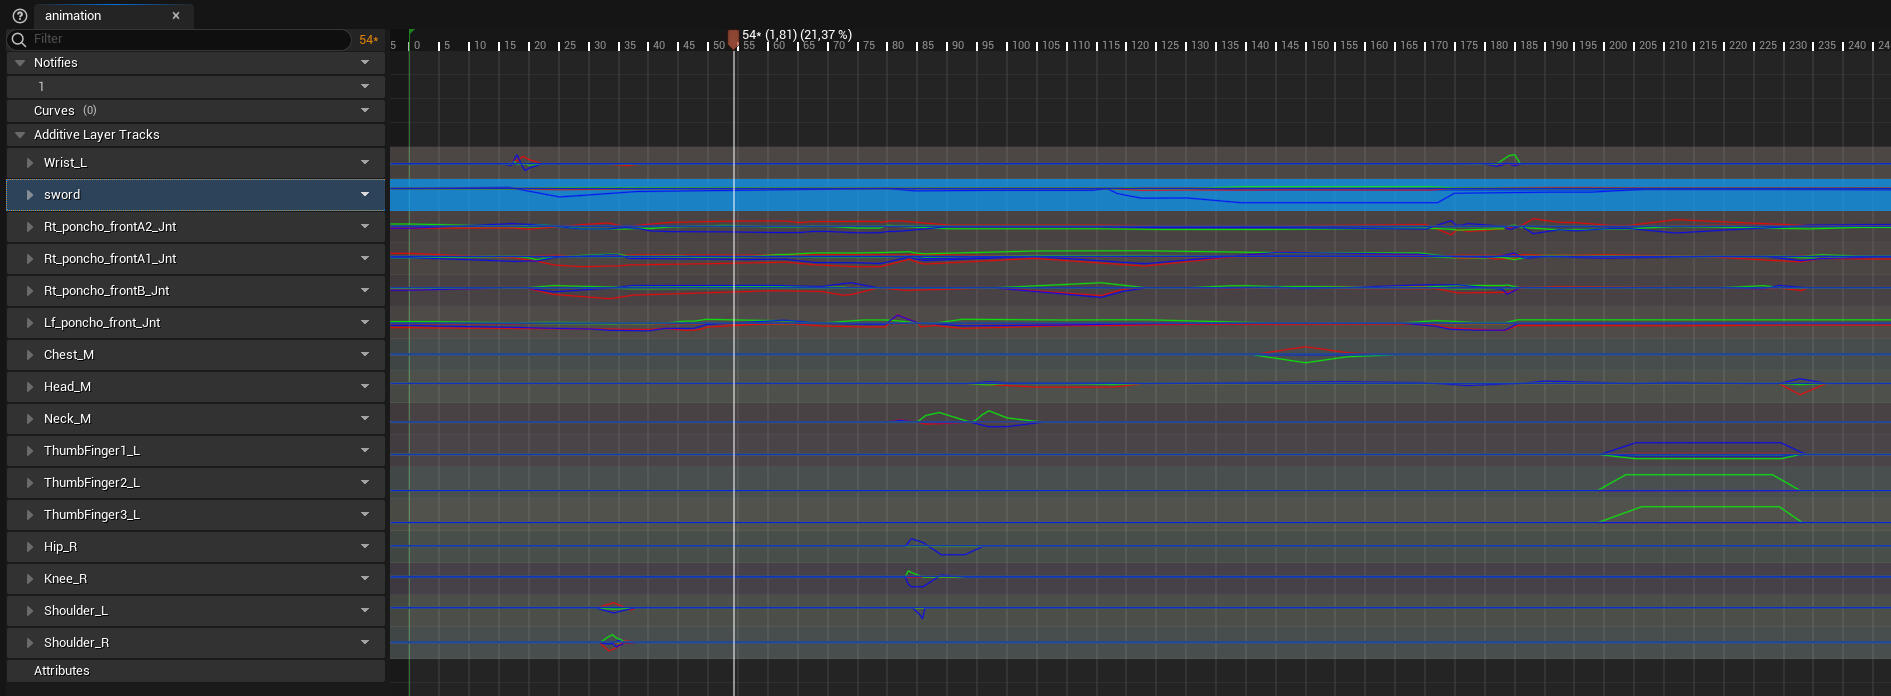
I wanted the character to have a reason to frantically charge at the bamboo, so I made the city infested by the plant.A couple of problems arose while trying to put everything together. The hair and spine of the character stayed put in Maya, while the rest of the joints were running around. I had to add a couple of joints, and then re-export the SK and sword mesh seperatley. For this setup to work I also needed to create a socket in Unreal, which I locked the mesh weapon to. To make the animation give off that extra flair, I keyframed both the ponchos joints and did some overall polishing in Unreals animation sequencer, but it sadly crashed several times and slowed down the development to a crawl. Setting up the camera and animations within the level sequencer went on smoothly and the rest was history.Conclusion:
It's been a great learning experience! I've got a better scope of how to puzzle things together now.
I developed a more comfortable workflow and I've taught myself a few techniques which served me well.
The raw footage

It consisted of 9 short takes, all recorded a couple times in case I would perform better during one of them. It was nice having a lot to choose from, and when it came to it, I could just chop and glue the best parts together.
Cleaning
Making things difficult for myself
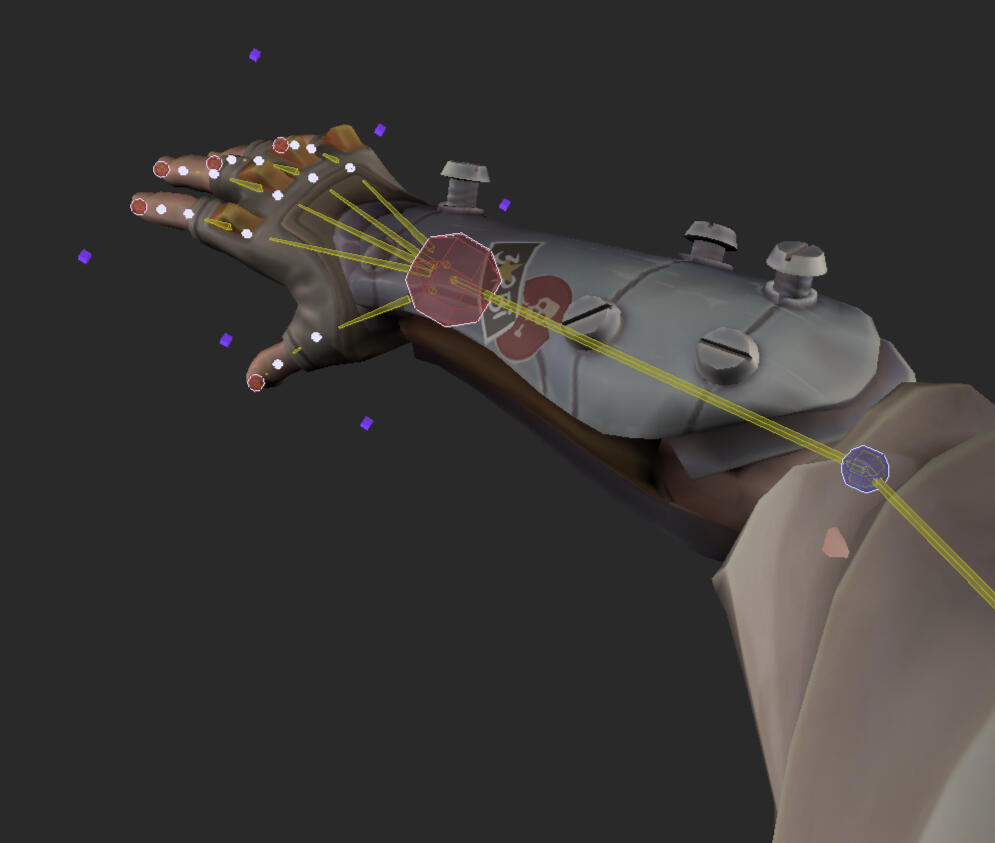
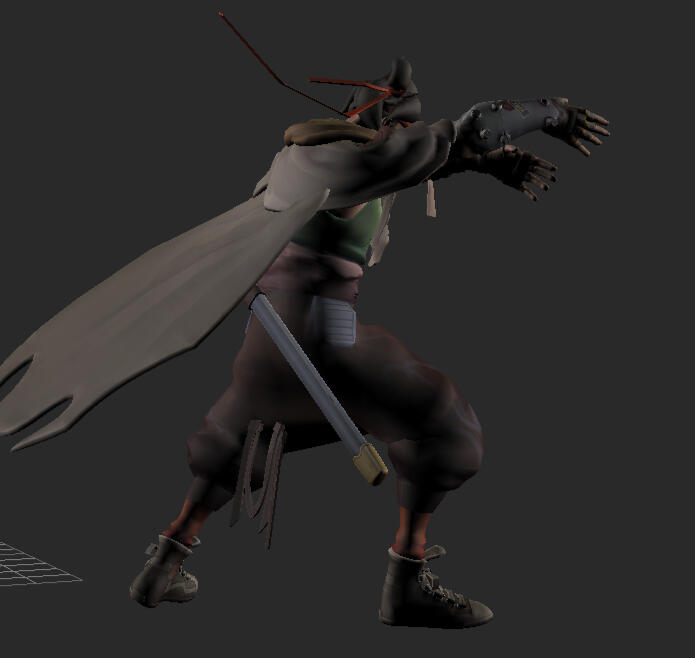
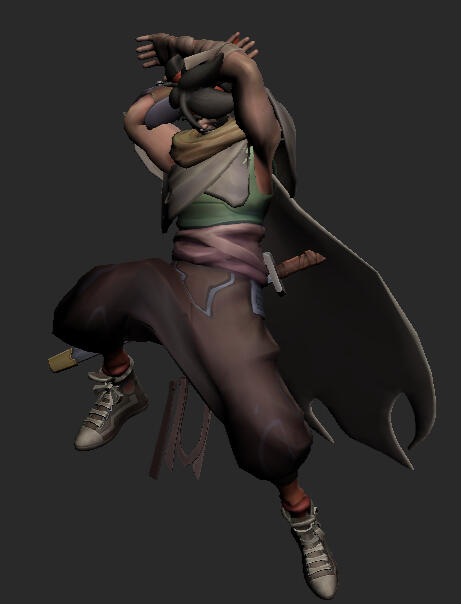
When I defined the Xsens skeleton in Motionbuilder, I made an incredibly consequential error which increased my workload by at least threefolds.
I failed to realize that I should've defined hand locator to the fingerbase. Instead I chose to connect it to the wrist joint instead.
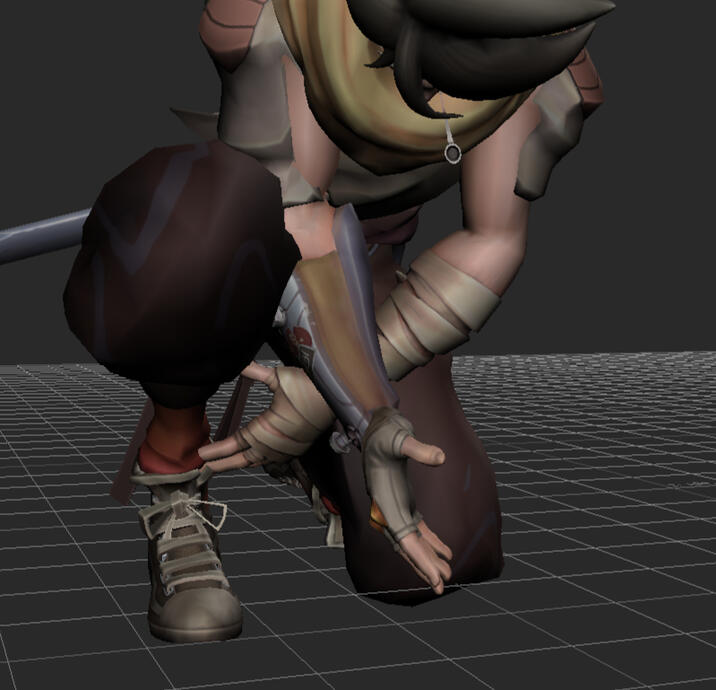
Thinking I could at least keep the hand rotations then right? Fully embracing the now marginal offset between the motion capture data and the control rig.
See pictures below!
Made for good practice though
Fixing poses
Before

After
Before
After

Before

After
readjusting the speed, lining up the arms
and keyframing proper arcs.
Stronger poses, less jitter and foot sliding
Finalizing in Unreal
Animation and Sockets
Creating sockets and moving some joints around in engine isn't particurarly hard.
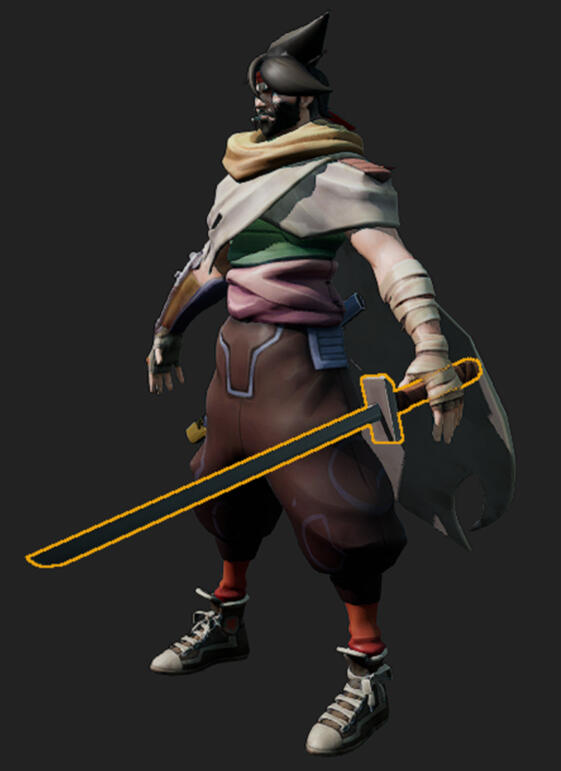
Staying patient throughout the process certainly was however, since it consistently froze whenever i used the graph editor.I mainly worked on the poncho to stop it from clipping into the body half the time. The sword also needed work, as it didn't really line up with the hands at all.
Bamboo
As I didn't have time to animate a second character,
I made this makeshift rig at very end of the project
I made 2 cutting animations for the bamboo!
I reused them by either mirroring them in engine or inverting the mesh in Maya instead
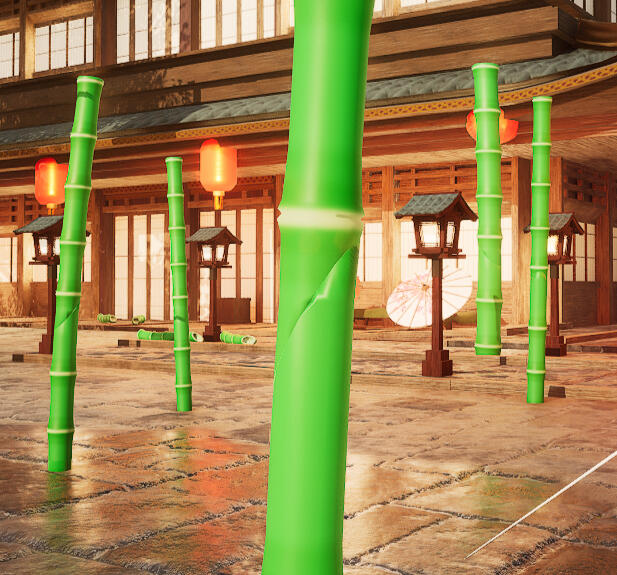
I'm not that great at 3D modelling.
Which becomes quite obvious when you notice that the shading outlines where it's gonna get cut off
Thats it!
Afterwards I simply set up the camera and the enviroment provided by Scale X and rendered it!
Thank you for your time!
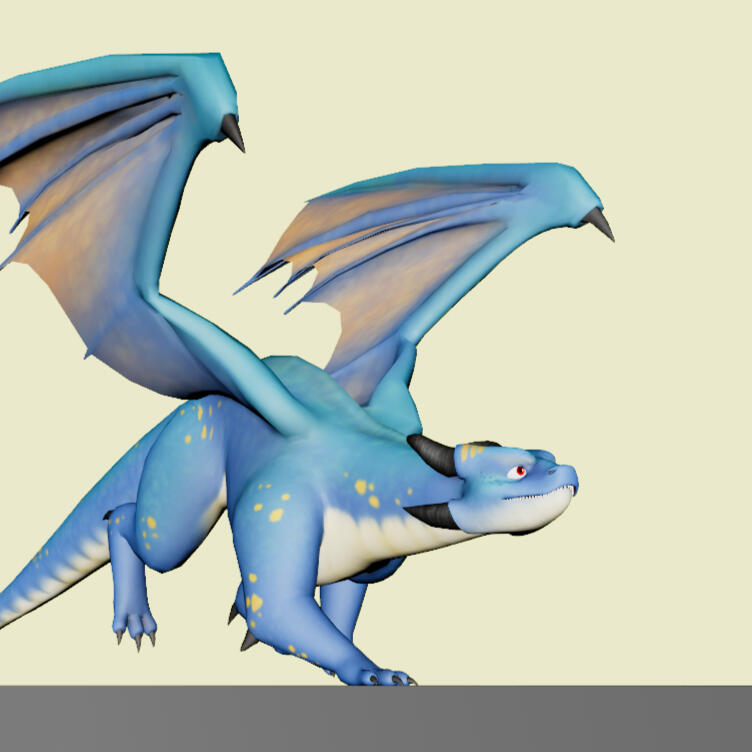
Dragon take off
This was an assignment made during the creature course on TGA
I polished it a bit further to fit it into the showreel
References
Wolves
Dragons are built like canines!
So that's what I based the sequence off
Antilope
The general flow of the animation is inspired by how antilopes scoots around the place
My process
The initial block was just based off the Antilope reference. As soon as I got a feel for the movement i went on to the next stage.
I made this animation by animating the dragon in place.
First I recreated the general hip and chest movements from the blockout, right before getting to work on the legs.
I focused on creating 1 solid loop which I could just offset and readjust throughout the animation.
When the body was set up, I animated the wings next. Since they were supposed to be influenced by a couple of things at the same time, I split the animation between 2 layers.
On the base layer I focused on follow through and build up, all while keeping the wings folded.
On the second layer I animated the flapping motion. The two layers blended together pretty well without any tweaks, with the exception of a little gimbal lock, but hey, that's life.
I went on to build the tail in the same manner.
Expect this time I stabilized it within the base layer and added follow through in the additive layer instead.
It made it way easier to work with, and gave a better result.
Final thoughts?
